
Last updated November 21, 2026
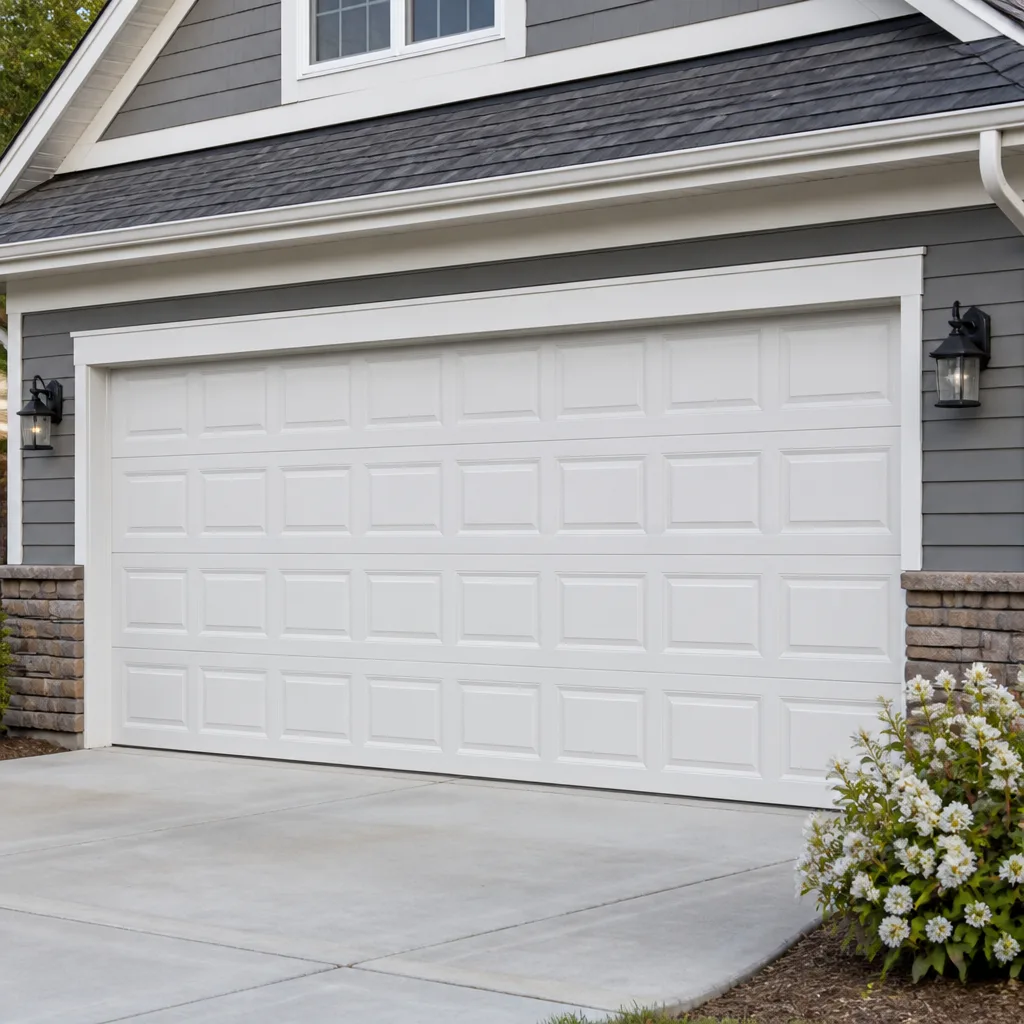 Raised-panel steel
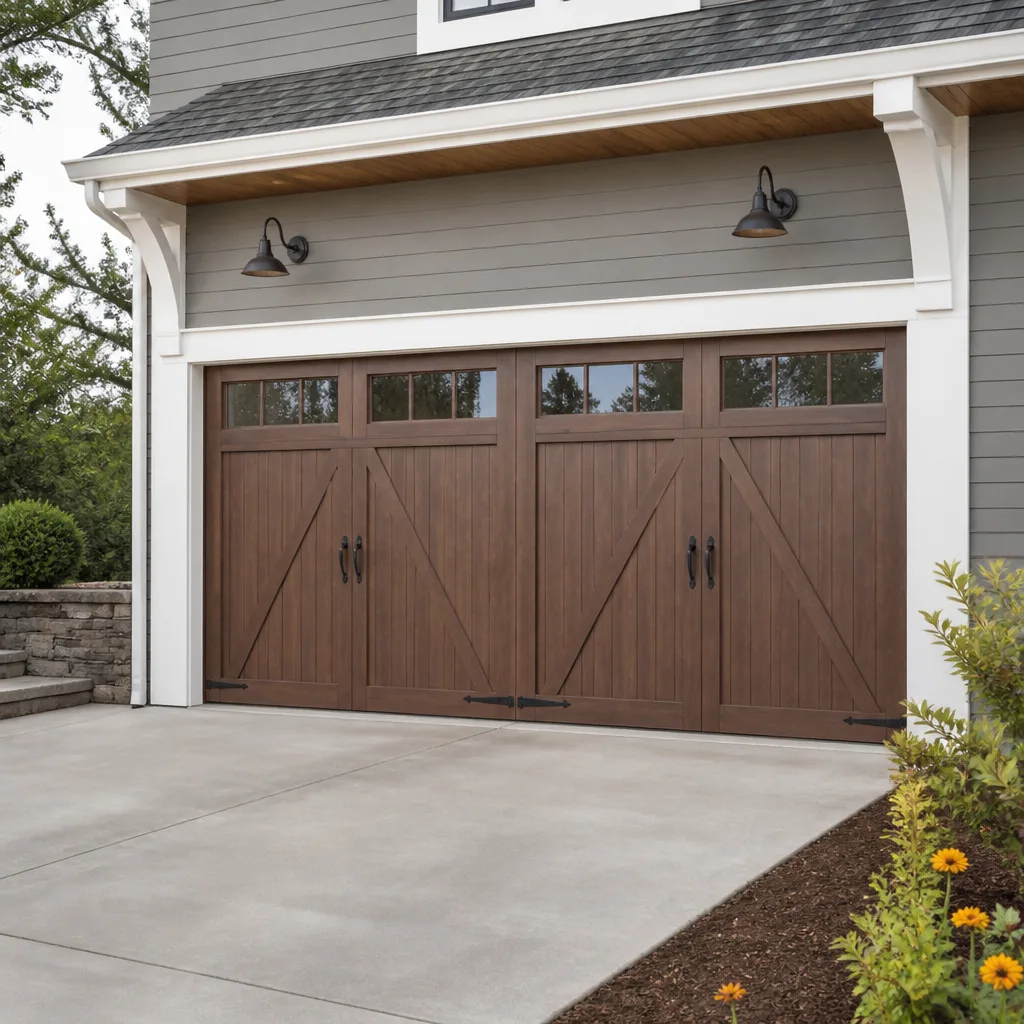 Carriage house
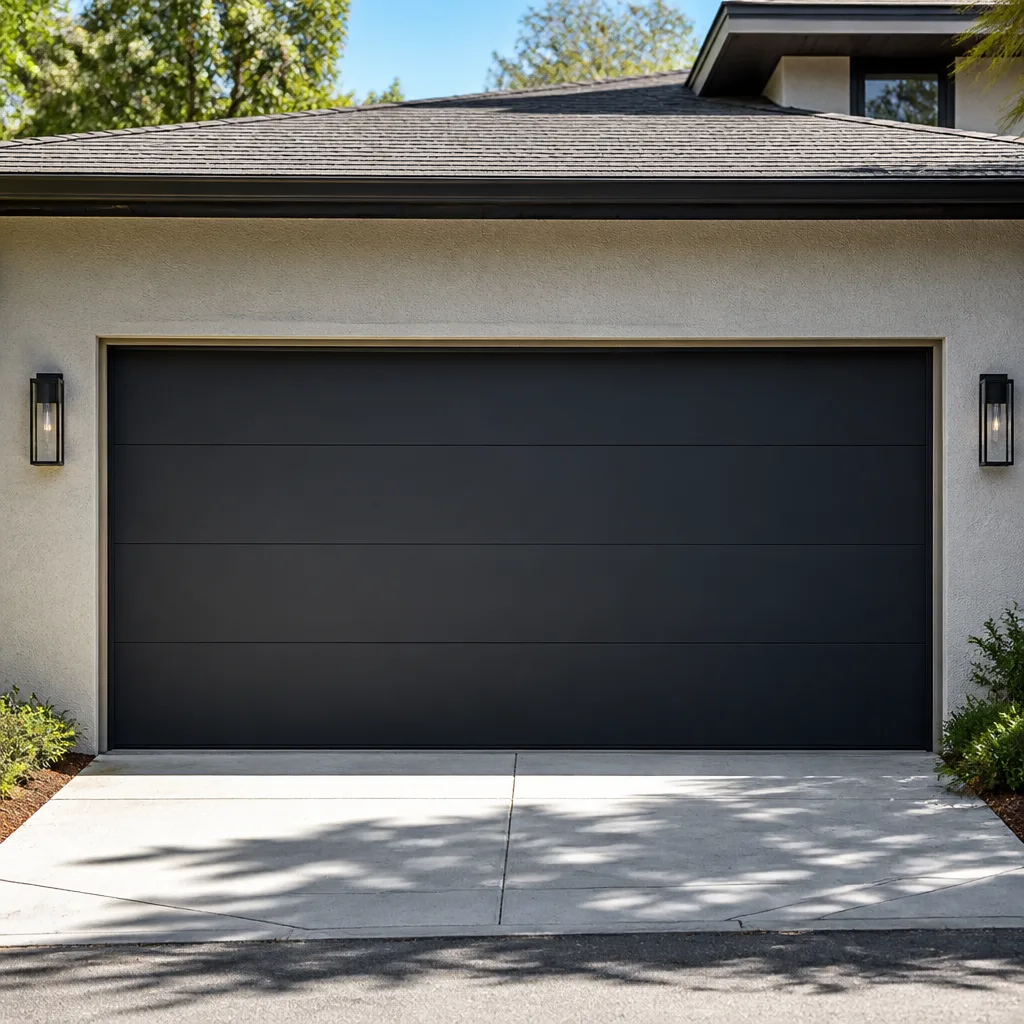 Modern flush
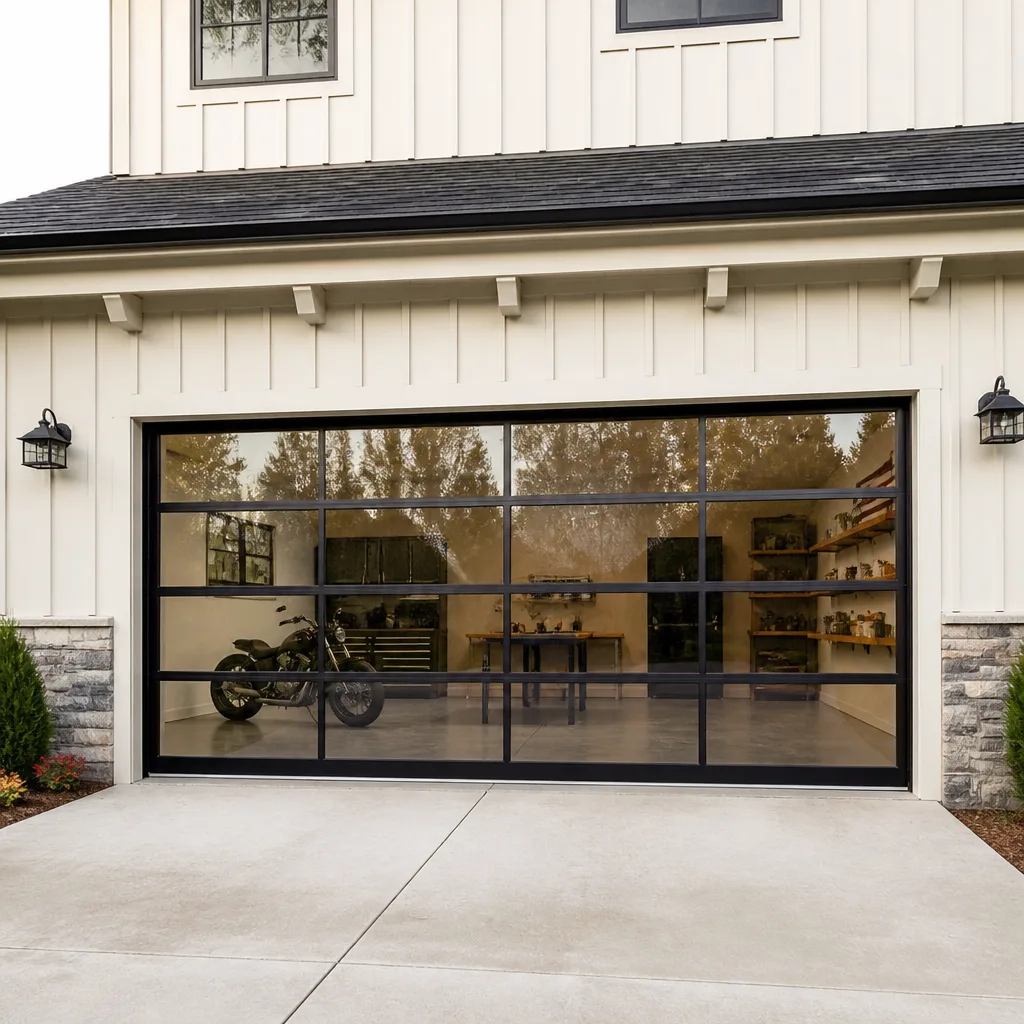 Full-view glass
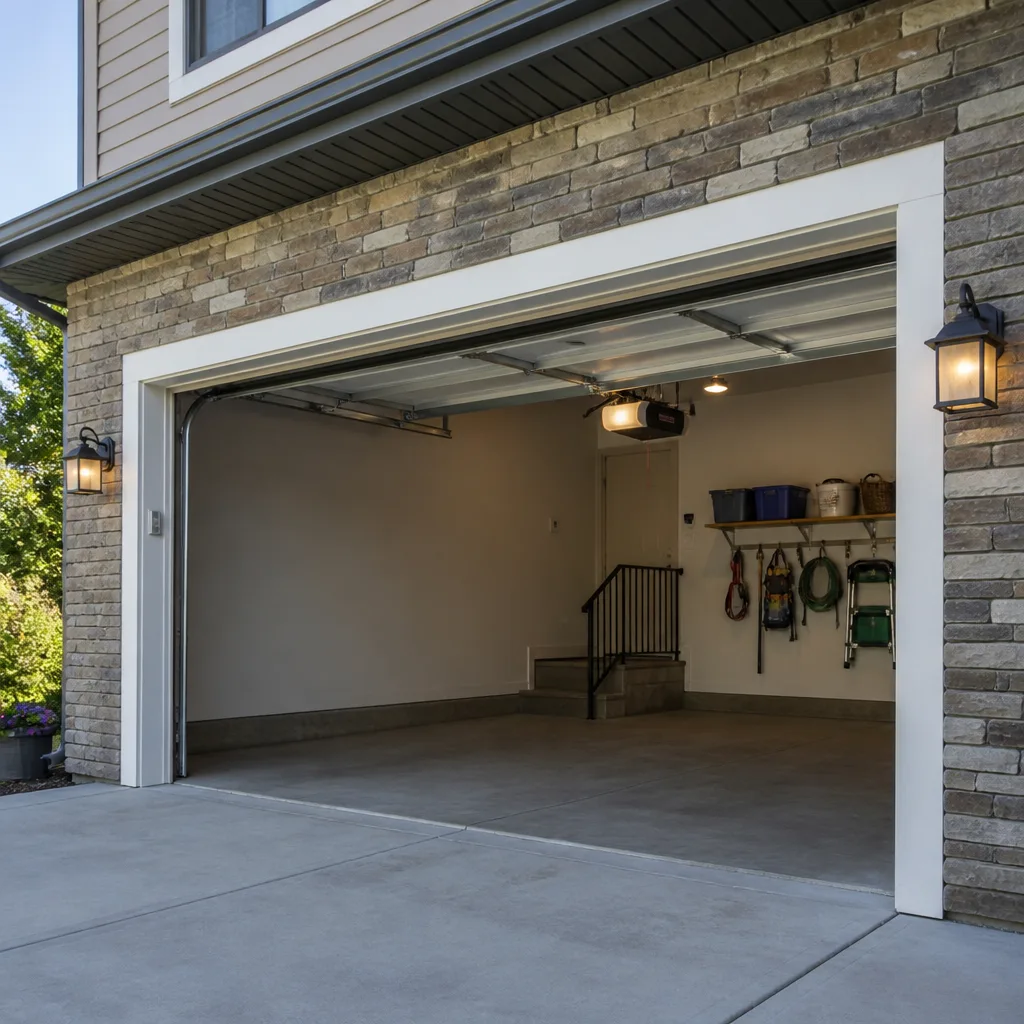 LiftMaster openers
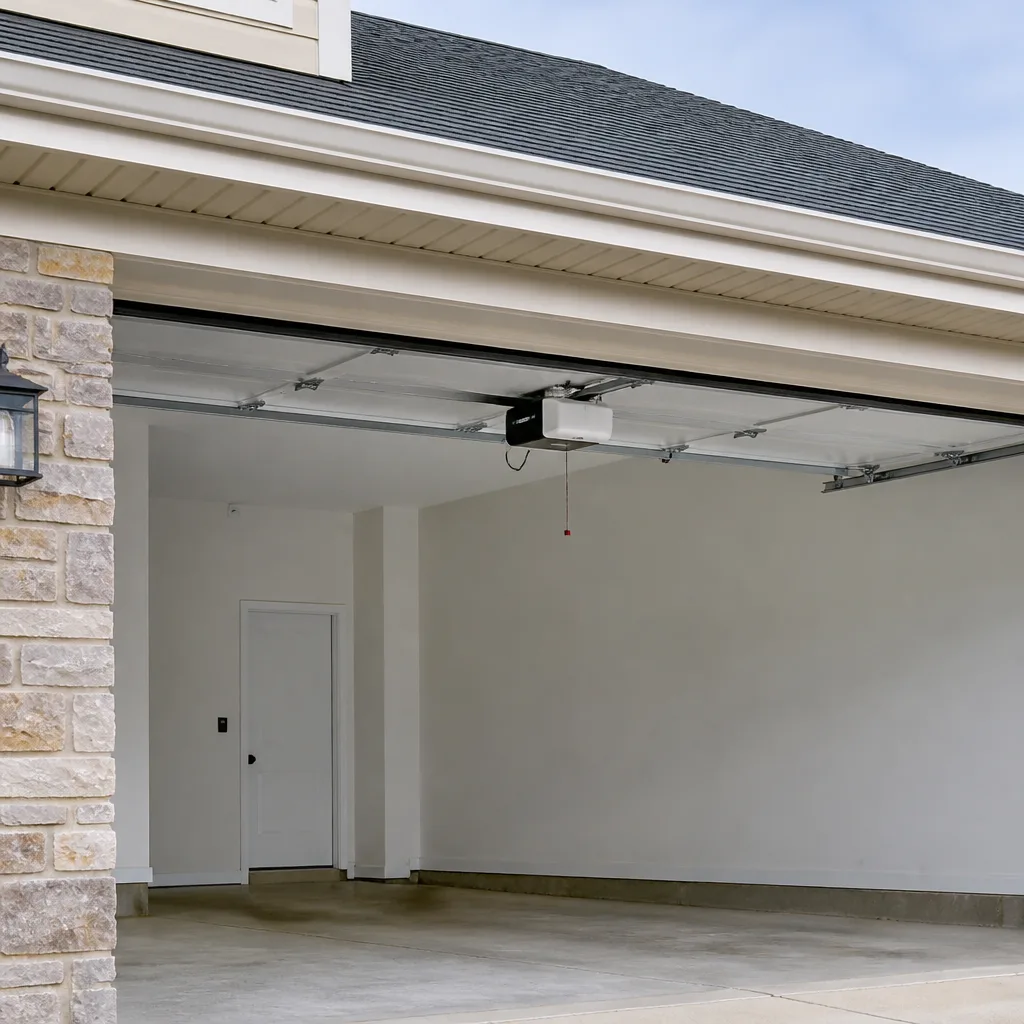 Chamberlain openers
Full 25-point door and opener safety check with every visit - springs, cables, rollers, tracks, and your LiftMaster or Chamberlain opener included
You get a price before we start. It does not change when the pro arrives.
Get your free estimateDIY vs Professional Garage Door: The East Village Homeowner’s Decision Guide
Most DIY vs professional garage door guides treat the question as a budget decision. Should you spend an afternoon and a few tools, or pay someone to handle it? That framing skips the variable that matters more in East Village: physical feasibility. A lot of the garages here are low-clearance, tight, and mounted close to the ceiling joists. Replacing a torsion spring in a garage with seven feet of headroom is not the same job it is in a suburban two-car bay. The tools are harder to seat, the leverage is worse, and the room to move your body away from a loaded spring is close to none. This guide walks through each common repair, what’s genuinely safe to take on, what’s DIY-possible but impractical in this neighborhood’s garages, and what belongs to a professional no matter how many tutorials you’ve watched.
Styles & brands we work with
- Raised-panel steel
- Carriage house
- Modern flush
- Full-view glass
- LiftMaster openers
- Chamberlain openers
Quick Answer
The short answer: routine maintenance like lubrication and visual inspection is genuinely fine to do yourself. Spring, cable, and torsion work is professional-only, and in East Village’s low-headroom garages it’s also physically difficult to execute even with the right tools. Panel swaps, opener wiring, and full installations are best left to a specialist because of clearance, safety, and building liability. If you’re renting a co-op or condo bay, you also have warranty and shared-access considerations that most DIY guides skip entirely.
Table of Contents
- What’s genuinely safe to do yourself
- How low-headroom East Village garages change the risk profile
- Torsion springs: what the YouTube tutorial gets right and wrong
- Cables, rollers, and tracks: DIY-possible but rarely DIY-practical
- Openers and smart controllers: where DIY shorts out
- Liability and warranty in co-op and condo buildings
- Calculating the real break-even of a DIY attempt
- Common mistakes to avoid
- When to call a professional
- Frequently asked questions
What’s genuinely safe to do yourself
Some garage door upkeep is safe, useful, and worth owning as a homeowner. Lubrication, cleaning, tightening visible bolts, and testing the safety reverse feature are all reasonable DIY tasks. On a wooden or steel door, these can add years of quiet operation. The line is drawn at anything holding tension, anything electrical behind a panel, and anything requiring you to work under the counterbalance system.
Here’s a task-by-task breakdown of what we’d classify as safe, marginal, and professional-only in East Village:
- Safe for most homeowners: lubricating hinges, rollers, and the track with a garage-door-specific spray; wiping down panels and photo-eye lenses; tightening bolts you can reach without a ladder near the torsion bar; testing that the door reverses when it meets an obstruction; replacing a remote battery.
- Marginal (fine with prep, not with guessing): swapping a standard wall button; adjusting the up/down travel limits on a compatible opener; replacing a bottom weather seal; re-tensioning a loose bracket bolt on a track.
- Professional-only regardless of skill: torsion and extension spring replacement, cable replacement, drum and shaft work, anything that requires removing a loaded spring or cable from the system.
In our experience, most East Village calls that follow a frustrated DIY attempt fall into the second and third categories. Not because the homeowner isn’t handy, but because the low-clearance garages here make marginal tasks riskier than they look on paper.
How low-headroom East Village garages change the risk profile
A typical low-clearance garage in East Village has a ceiling near seven feet, and the torsion bar often sits within a few inches of the joists. That geometry matters for one reason: winding bars. To safely unload or tension a torsion spring, you need room above and behind the bar to turn the winding bars a full half revolution, and you need room to step back if the spring lets go. In a tight garage, both are hard to come by.
The practical consequences stack up:
- Tool clearance shrinks. Winding bars are typically eighteen inches long. In a seven-foot garage, you may not have the overhead clearance to bring them to horizontal without hitting a joist or a beam.
- Body positioning worsens. Standard practice is to stand slightly to the side of the winding cone, not in front of it. Low ceilings push your head and shoulders closer to the spring’s line of travel.
- Ladder space disappears. Most of these garages don’t leave room for a step ladder placed at a safe leaning angle in front of the torsion bar. That means working from an awkward reach.
- Lighting is often poor. Old single-bulb ceiling fixtures and windowless garages make it hard to see the paint stripe on the spring or the set screws on the cone.
- Storage clearance is tight. Boxes and shelving pushed against the ceiling reduce the swing radius you’d otherwise have.
None of these alone makes the job impossible. Together they mean a repair that’s already on every DIY-warning list becomes logistically harder here than the average tutorial assumes. This is the variable most guides leave out when they cover DIY vs professional garage door repair in East Village.
Torsion springs: what the YouTube tutorial gets right and wrong
The tutorials get a few things right. They correctly label torsion springs as dangerous. They explain the difference between torsion and extension springs. They often show how to measure the spring, which is the single most important piece of information for ordering a replacement. And they do warn against cutting corners. Credit where it’s due.
Where they fall short is the physical reality of the job:
- “Use winding bars, not screwdrivers.” Correct. But a tutorial filmed in a Texas two-car garage assumes you have room above the bar to swing the bars. Many East Village garages don’t.
- “Unload both springs evenly.” Correct. But in low-clearance setups, the natural reach makes it hard to stay parallel to the cone for a full rotation.
- “Count your quarter turns carefully.” Correct. But the consequences of a miscount (overwound spring, or an improperly seated cone) are much harder to correct in a tight space than in a roomy one.
- “Do the job in an hour.” Realistic for a trained technician on a standard install. Not realistic in a low-clearance garage where half the time goes to positioning.
- “You can do this.” Sometimes true. In East Village’s tight garages, “sometimes” is doing a lot of work in that sentence.
Here’s what a trained eye knows that a tutorial can’t teach: an experienced technician has handled low-headroom jobs enough times to know how to seat winding bars at an awkward angle, how to spot a fatigued spring before it fails, and how to tell whether a Genie or Clopay system in a tight bay needs a different approach than the tutorial assumes. That’s the gap between video and hands. Our garage door repair work in these buildings is built around that gap.
Cables, rollers, and tracks: DIY-possible but rarely DIY-practical
Cables and rollers sit in an awkward middle ground. A roller swap is genuinely a homeowner task; you loosen a bracket, slide out the old Nylon roller, slide in the new one, retighten. A cable swap is different. Garage door cables are under heavy tension, and a snapped or improperly seated cable can whip across the garage. In a low-clearance East Village garage, that whip has less distance to travel before it finds something, or someone.
Track alignment and panel straightening have their own complications:
- Panel replacement: A single panel on an Amarr or Wayne Dalton can be swapped if the exact model and color are still available. In practice, model discontinuation and paint fade make that harder than it sounds, and the door can end up visibly patched.
- Track straightening: A dented track needs either a careful bend-back (temporary fix) or full replacement. A bend-back often leaves the door running rough, which accelerates roller wear.
- Off-track diagnosis: If the door is off its track, the underlying cause has to be found and fixed before the door goes back on. Forcing a door back onto a misaligned track is a common DIY mistake that costs more to fix afterwards.
- Roller replacement: Doable yourself, with the door in the closed position, if you’re careful. Nylon rollers are quieter than steel, and the swap is usually worth doing on older doors.
For a door that’s more than a decade old or has been running rough for a while, the honest answer is often that a repair extends life by a few years and a replacement makes more sense long-term. We’ll tell you which side of that line you’re on, and our garage door installation team can quote both paths so you can decide. On a wide suburban driveway these are patient jobs for a careful homeowner; in a tight East Village bay, the same job eats an afternoon and may still end with a call.
Openers and smart controllers: where DIY shorts out
Opener repair is the task people most often get wrong themselves. It looks simple: there’s a motor, a rail, a chain or belt, a logic board, and a few wires. But the diagnostic work is the hard part. A door that won’t open could be a dead logic board, a misaligned safety sensor, a broken spring carrying the load, a stripped gear, or a snapped chain. The fix depends entirely on which of those it is.
If you’re comfortable with basic electrical work and unplugging the unit before opening its cover, some tasks are in reach:
- Replacing the wall push button with a compatible one (LiftMaster and Chamberlain use similar two-wire setups).
- Re-aligning or cleaning the safety photo-eye lenses.
- Reconnecting a Wi-Fi module, re-pairing a remote, or resetting a smart controller.
- Adjusting the open and close travel limits if the door is stopping slightly short of the floor.
What’s not in reach: replacing a logic board, swapping a stripped drive gear, or chasing a fault that isn’t where it looks. On a Craftsman or Genie opener older than about a decade, we’ve seen doors that “won’t close” turn out to be a spring problem being masked by the opener’s safety logic. The garage door opener repair diagnosis is often more valuable than the repair. Same-day service is available when the door won’t wait, and the price is quoted and agreed before any work starts.
Liability and warranty in co-op and condo buildings
In a Manhattan co-op or condo building, the garage isn’t yours alone. Even a deeded bay usually has shared building infrastructure: wiring, lighting circuits, and often a shared header wall. That changes the DIY vs professional question in ways most guides never mention.
The main concerns:
- Building liability. If a DIY repair fails and damages a shared garage wall, ceiling, or another vehicle, the liability question isn’t between you and a contractor. It’s between you and the building, and most building insurance policies require work to be done by a licensed trade.
- Warranty impact. Most door and opener manufacturers specify professional installation for their warranty to apply. A DIY spring or opener swap often voids it, especially on newer Clopay doors or LiftMaster openers.
- Building rules. Many East Village buildings require advance notice or a certificate of insurance before any trade works on site. A DIY homeowner can’t produce one.
- Shared access. If your garage shares an overhead header or a common wall with a neighboring bay, a repair failure affects two households, not one.
If you’re a property manager handling a multi-bay garage, the calculation flips almost entirely toward professional work. One failed repair across a shared structure is a bigger problem than any savings on one bay. We’re available when the door won’t wait, and we handle both the mechanical system and the opener under one roof so you’re not coordinating two separate service calls.
Calculating the real break-even of a DIY attempt
The honest break-even calculation between a DIY attempt and a professional first call is more involved than a price comparison. Factor in the following:
- Tools. Winding bars, a spring scale, safety glasses, proper gloves, and correct ladder height add up. For a one-time repair, you’re buying tools you may never use again.
- Parts. Springs must match by wire gauge, inside diameter, and length. Order wrong, and you’re ordering twice, paying shipping twice, and losing days.
- Time. A trained technician does a spring pair in well under two hours; a careful first-timer in a low-clearance East Village garage may need a full day and might not finish.
- Risk. Torsion springs are under hundreds of pounds of tension. An injury costs more than any repair.
- Second-call cost. If the DIY attempt doesn’t work, you now pay for a professional visit anyway, on top of tools and parts.
When we run these numbers with homeowners, the “savings” from DIY typically narrows to a range that doesn’t justify the risk on anything mechanical. For maintenance tasks, DIY is genuinely cheaper. For spring, cable, and opener logic work, the math often favors a first-call professional. Our team has technicians with up to 12 years of experience with the brand already in your garage, so there’s no brand-switching required to get the job done properly.
Common mistakes to avoid
- Buying a spring by diameter alone. Torsion springs are matched by wire gauge, inside diameter, length, and wind direction. Ordering the wrong one in an East Village garage means another week of a stuck door while the correct part ships.
- Using a screwdriver as a winding bar. This is the mistake every tutorial warns about and every confident homeowner eventually makes. Screwdrivers slip, and a loaded spring with a slipping bar is a serious injury risk.
- Assuming low clearance won’t matter. In East Village’s tight garages, a task that’s a forty-five-minute job on a roomy driveway can take three hours and cost more in time than a professional call.
- Forcing an off-track door back into place. If the door is off its track, stop. The cause is either a bent roller, a bent track section, or a cable problem, and forcing the door back on damages all three.
- Skipping the building’s insurer. Co-op and condo garages often require an insurance certificate before work starts. Doing it yourself bypasses the building’s rules and puts you on the hook for any damage to shared property.
- Not testing the safety reverse after any repair. Even a simple roller swap can shift the door’s balance enough that the opener’s reverse feature fails. Test it every time.
- Treating a “won’t close” as an opener problem. Many doors that stop halfway are showing a spring symptom through the opener’s safety logic. Diagnose the whole system, not just the opener.
When to call a professional
Call a professional if you’re dealing with any of the following: a broken or visibly stretched torsion or extension spring; a snapped, slack, or visibly kinked cable; a door that’s come off its track; an opener that trips a breaker, smells like hot plastic, or won’t respond to any input; a low-clearance garage where the torsion bar sits close to the joists; any co-op or condo garage where a building insurance certificate is required. Each of these is either dangerous, impractical in East Village’s tight garages, or both.
Garage Door Repair East Village offers free estimates in East Village. Call (866) 951-2601. We answer 24/7. Fast dispatch from 7am to 7pm, Sunday through Friday. The price is quoted and agreed before any work starts, and the written estimate is what sets the final price. Our technicians have up to 12 years of experience and we work on the brand already in your garage, whether that’s Genie, Clopay, Amarr, Wayne Dalton, or one of the other major brands.
Frequently asked questions
You can physically attempt it, but we’d strongly advise against it. Torsion springs are under extreme tension, and in East Village’s low-clearance garages, the room to safely seat a winding bar and step back from a loaded spring is often missing. Call (866) 951-2601 for a free estimate instead.
Replacing a wall button, re-pairing a remote, or adjusting travel limits is safe with the unit unplugged. Replacing the opener itself, or diagnosing a logic-board or drive-gear fault, is not. The diagnosis is the hard part, and it’s where a trained technician saves the most time. Call (866) 951-2601 for a free estimate.
Most East Village co-op and condo buildings require a certificate of insurance before any trade works in a shared garage. A DIY homeowner can’t produce one, and if a repair fails and damages shared property, liability falls on the unit owner. The local pro is licensed and insured as their state requires.
Spring replacement is priced per spring, and a matched pair is usually replaced together, so budget for roughly twice the single-spring estimate. The written estimate sets the exact price for your door. Call (866) 951-2601 for a free estimate; the price is quoted and agreed before any work starts.
Torsion springs mount on a bar above the door and last longer; extension springs run along the sides. Both are professional-only. Extension springs are marginally easier to access in a low-clearance garage, but they still require safely unloading stored tension, which is the dangerous part.
We’re closed Saturday. We’re open Sunday through Friday, 7am to 7pm, so if a door fails on Saturday, call and we’ll book the next available slot for you. We answer 24/7 at (866) 951-2601.
For lubrication, roller swaps, and safety-reverse testing, yes. For torsion springs, cables, and opener diagnostics, the tutorial covers the sequence but not the physical reality of a low-clearance East Village garage. The gap between video and hands is larger here than most tutorials assume.
Often yes. Most door and opener manufacturers specify professional installation for their warranty to apply, and a DIY spring or opener swap can void it. On newer Clopay or LiftMaster equipment, that’s a real cost. Call (866) 951-2601 for a free estimate that preserves your warranty coverage.
The Bottom Line
DIY is right for some garage door work: lubrication, roller swaps, sensor cleaning, and travel-limit adjustments. It’s wrong for spring, cable, and opener-board work, and in East Village’s low-clearance garages, it’s also harder than most tutorials assume. The break-even math usually flips toward professional work once tools, time, injury risk, and warranty impacts are factored in. If your building is a co-op or condo, the liability picture tips further. Our specialists work on the brand already in your garage and we’ll tell you honestly whether to repair or replace.
Whatever your system is doing, we can look at it. Garage Door Repair East Village handles the mechanical door and the opener under one roof. Call (866) 951-2601 for a free estimate. We answer 24/7. Fast dispatch from 7am to 7pm, Sunday through Friday. The written estimate is the price.
Written by the team at Garage Door Repair East Village.
See the difference
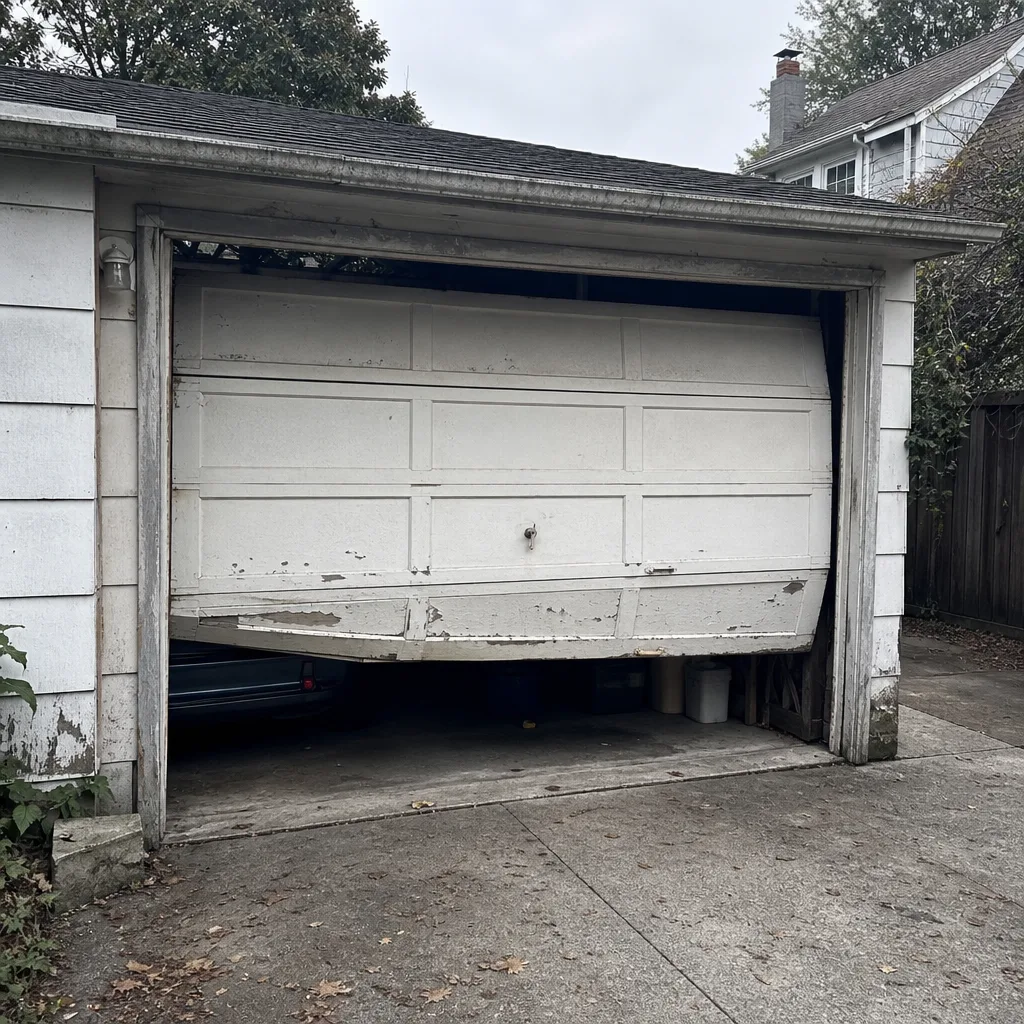 Before
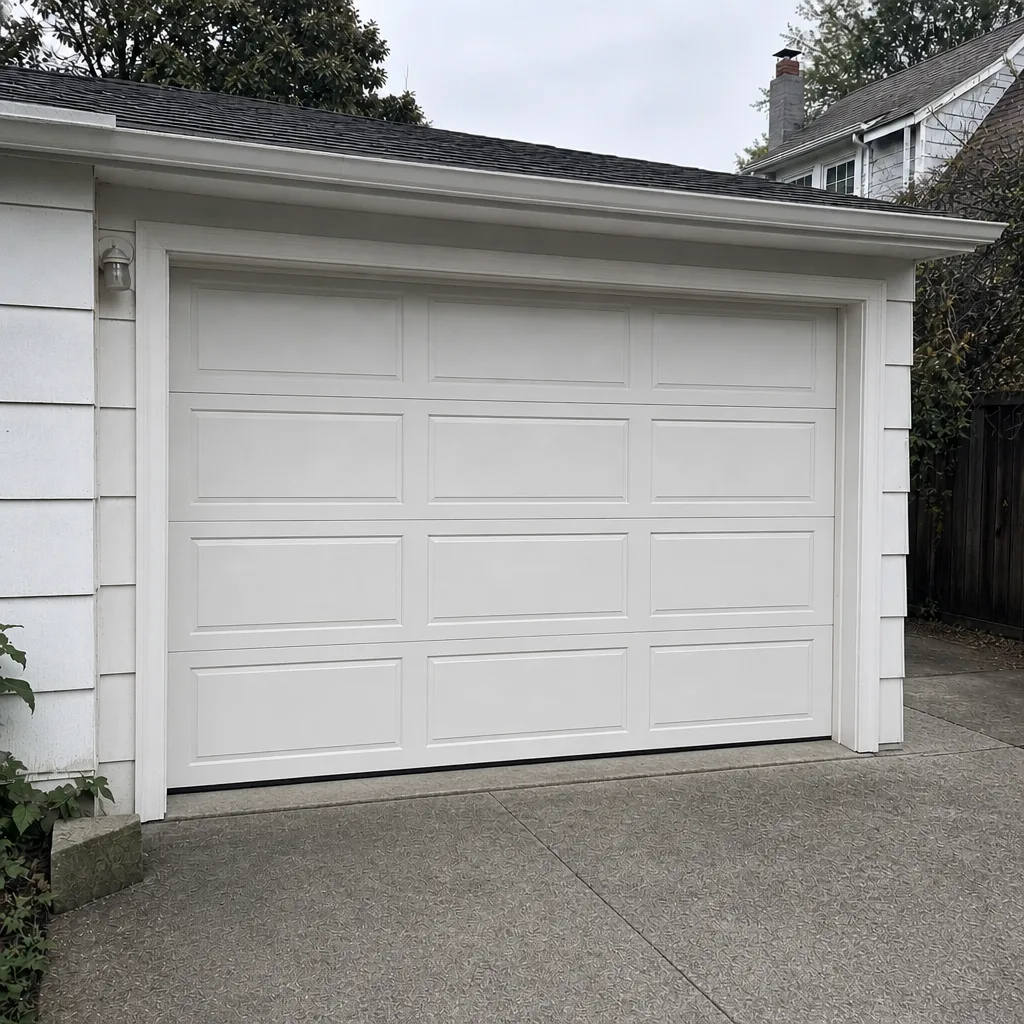 After
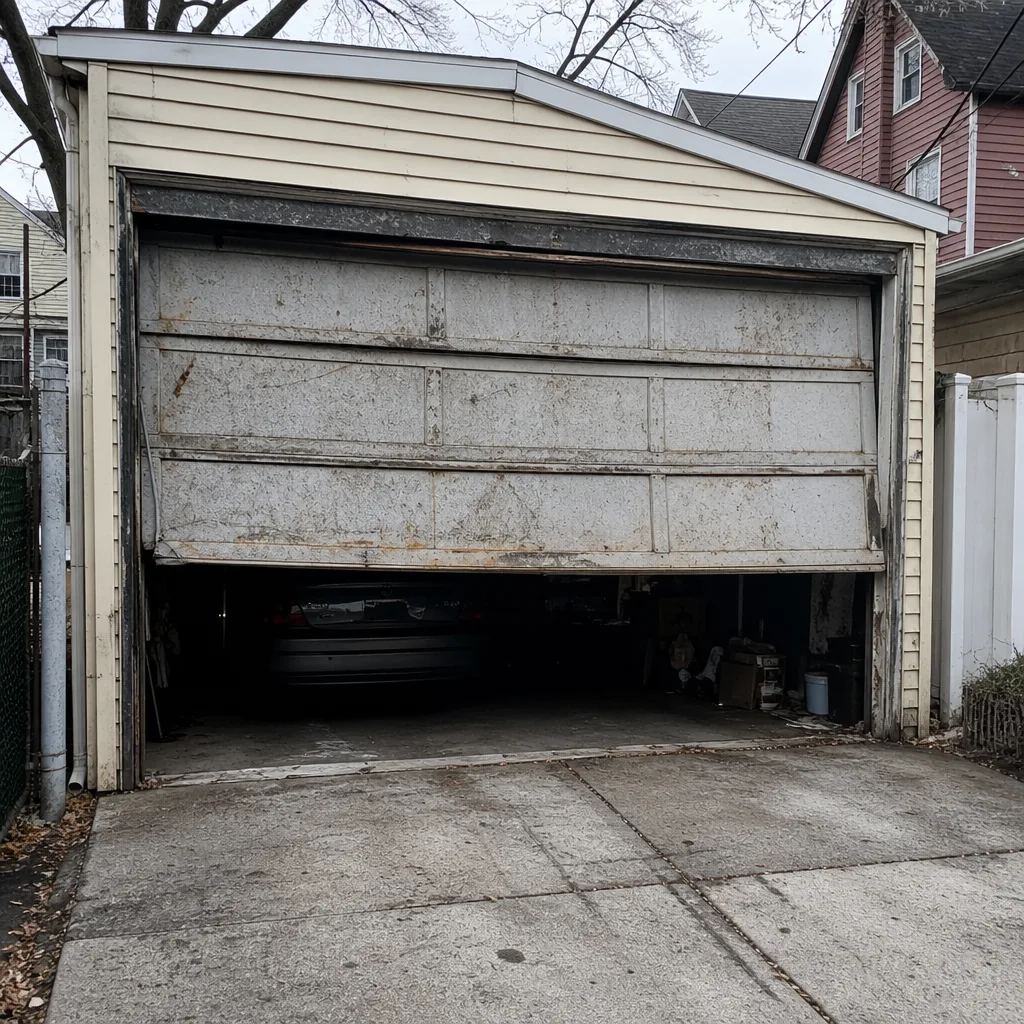 Before
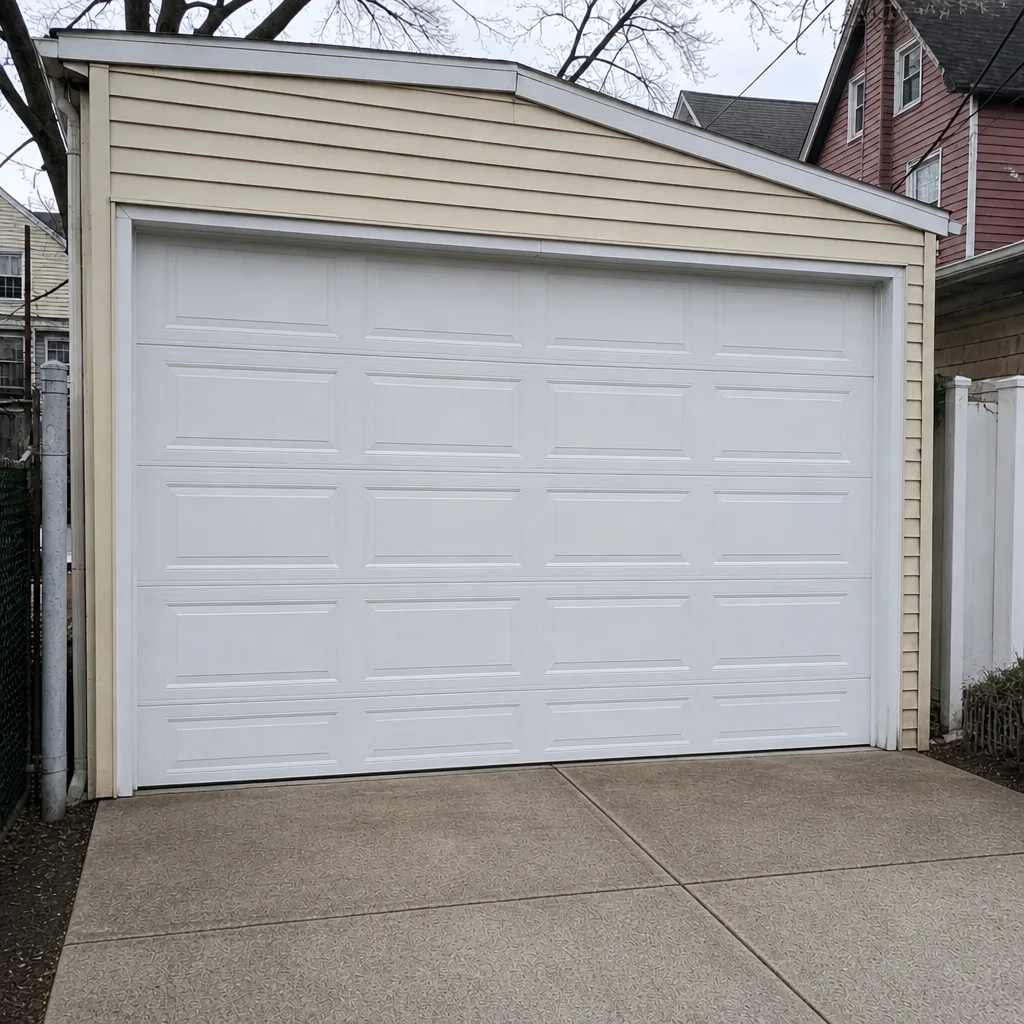 After
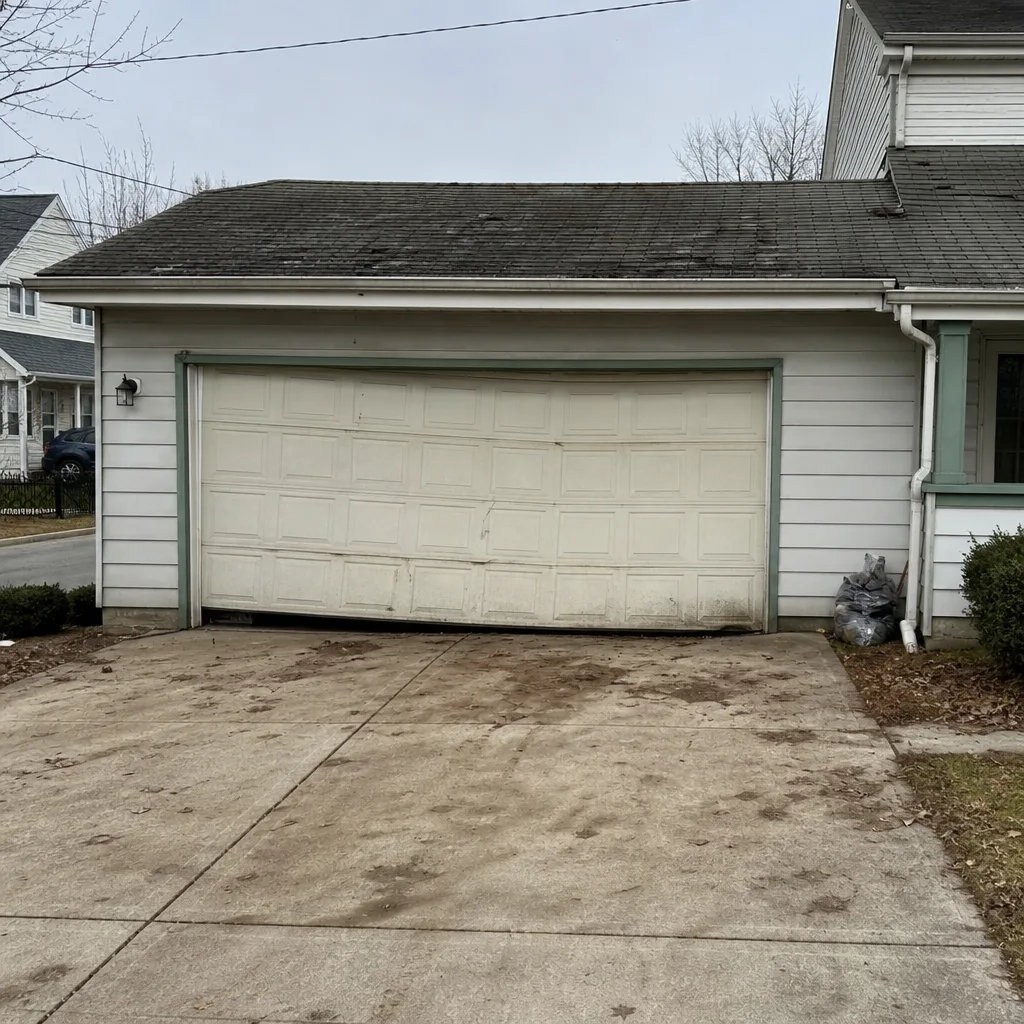 Before
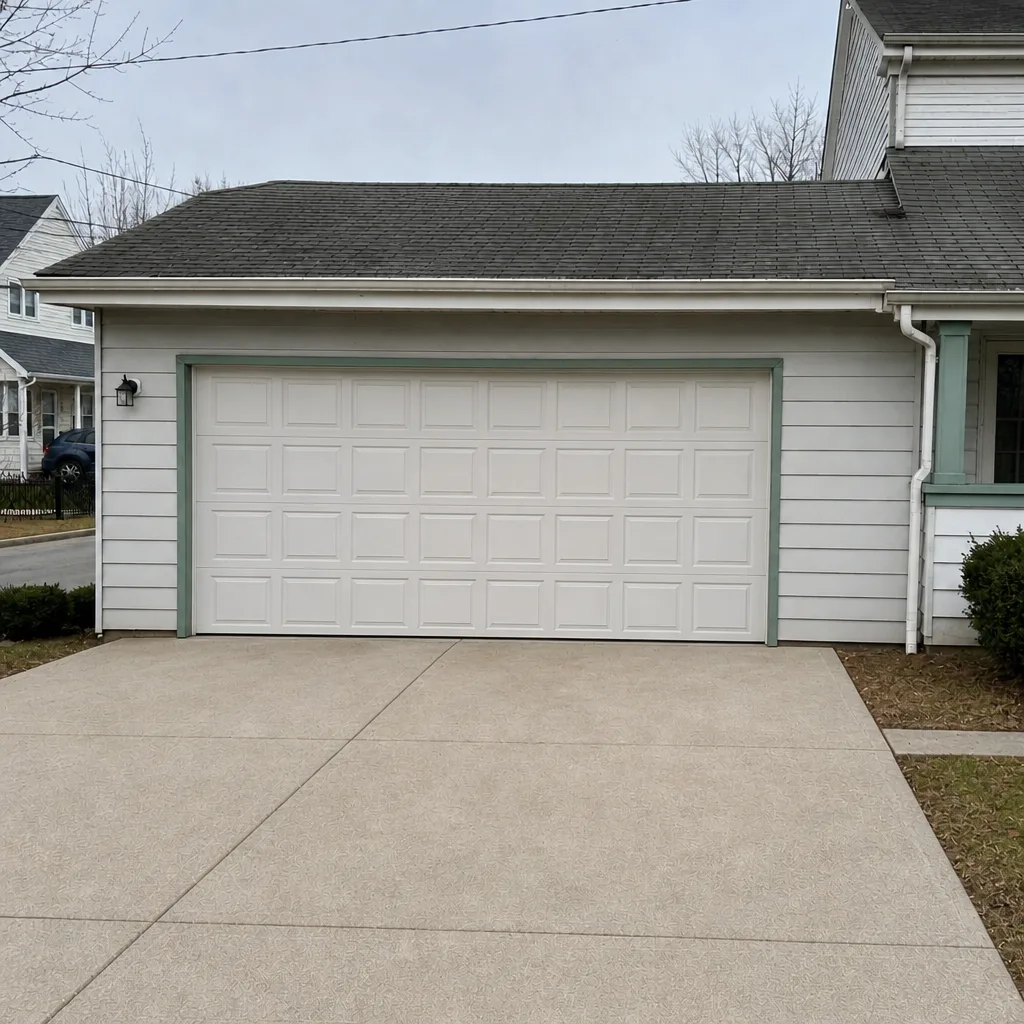 After