
Last updated November 21, 2026
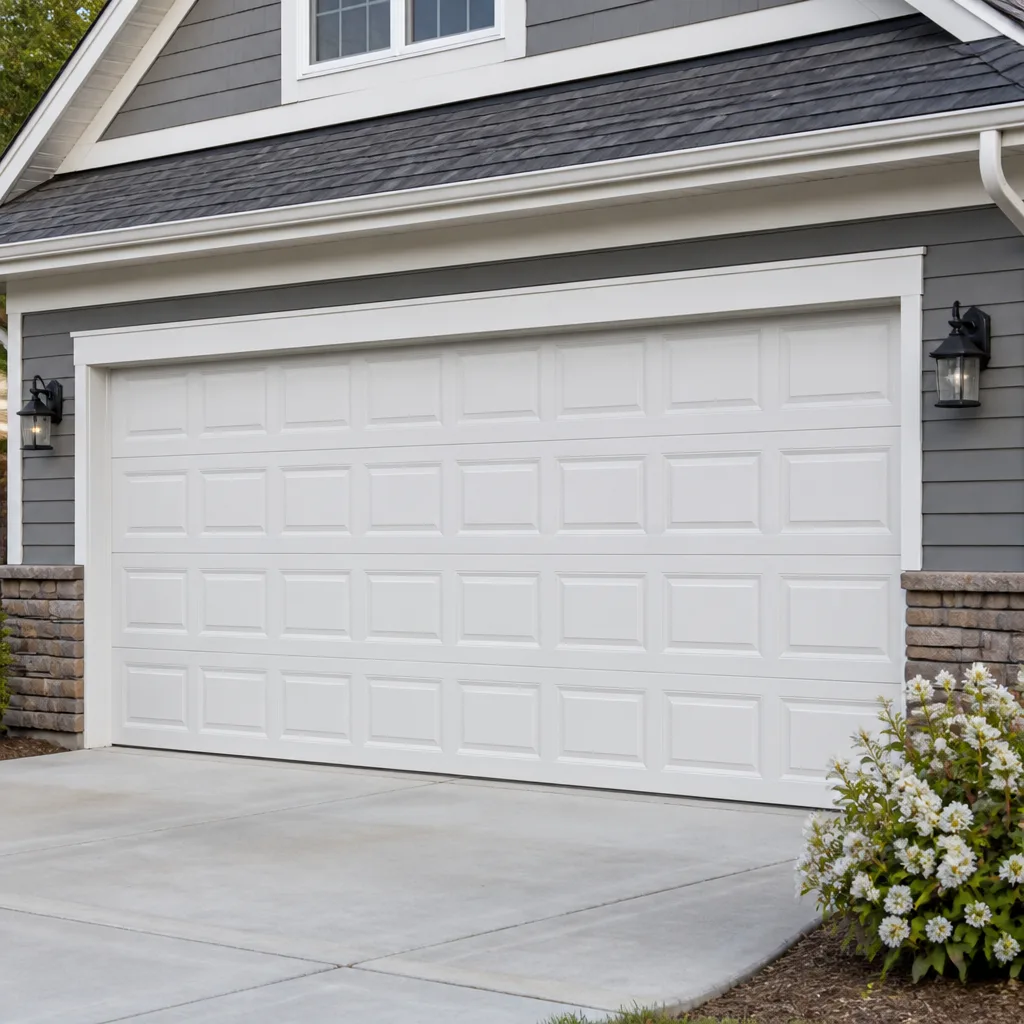 Raised-panel steel
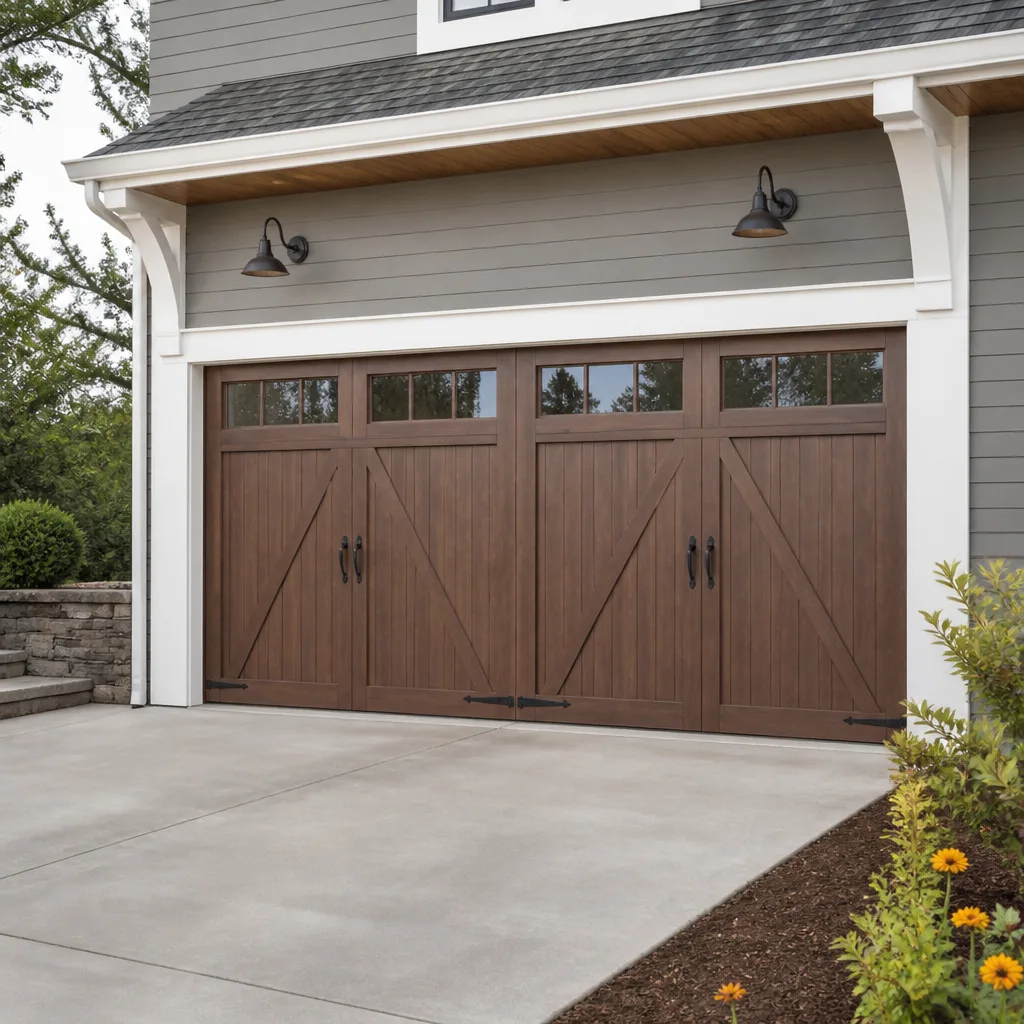 Carriage house
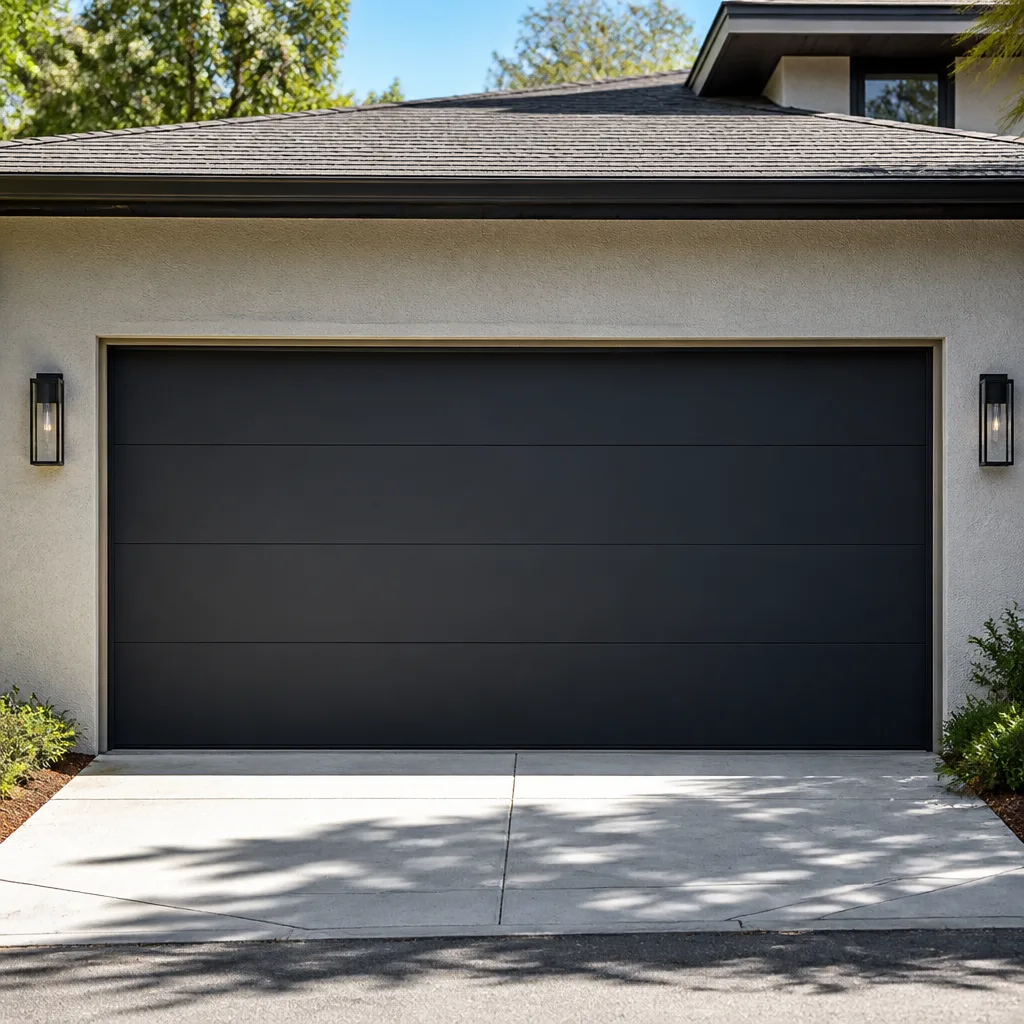 Modern flush
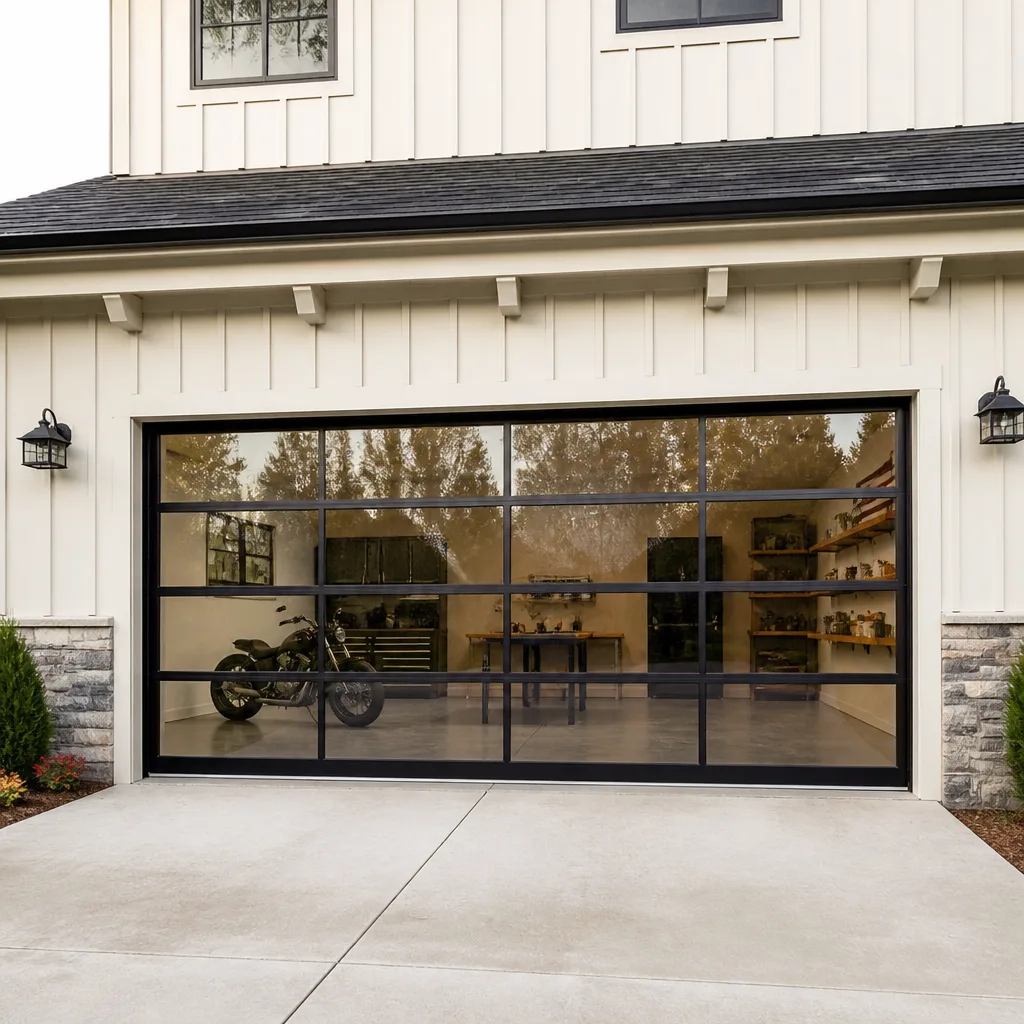 Full-view glass
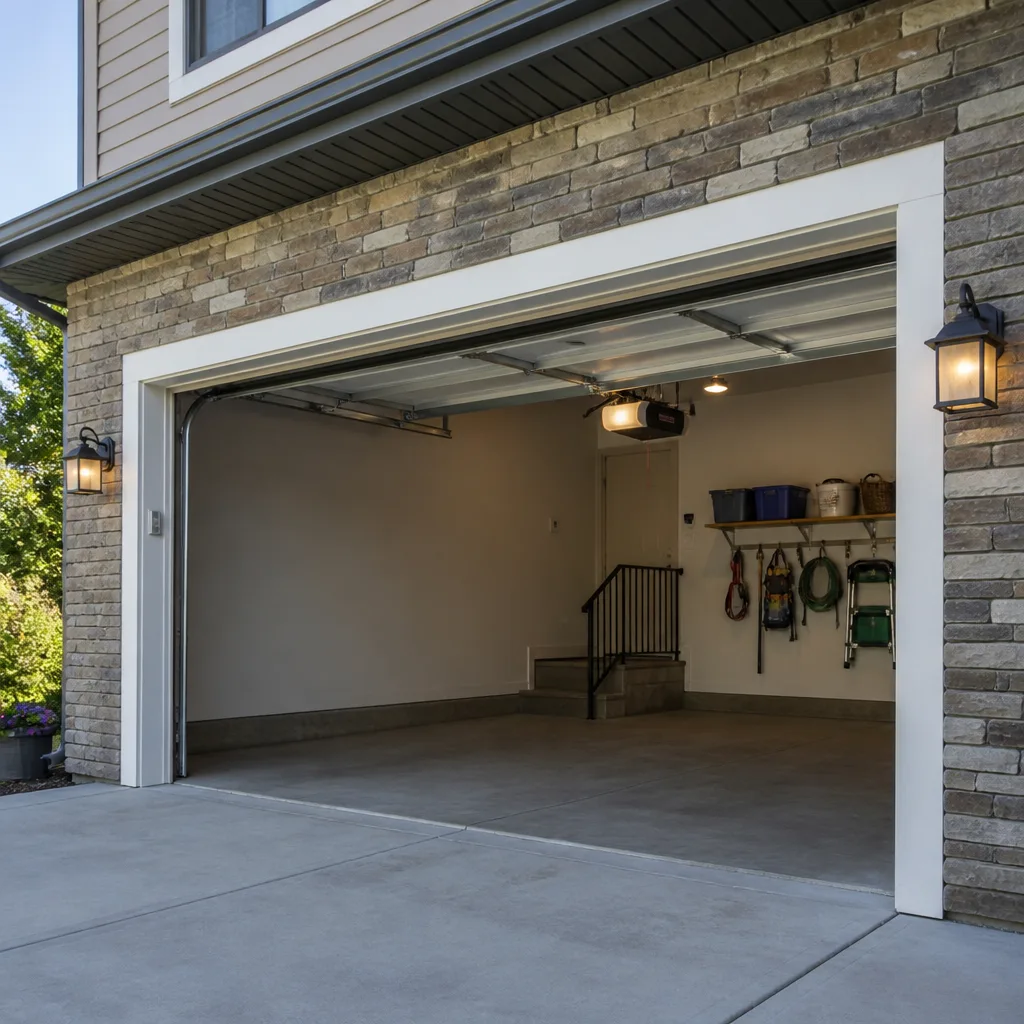 LiftMaster openers
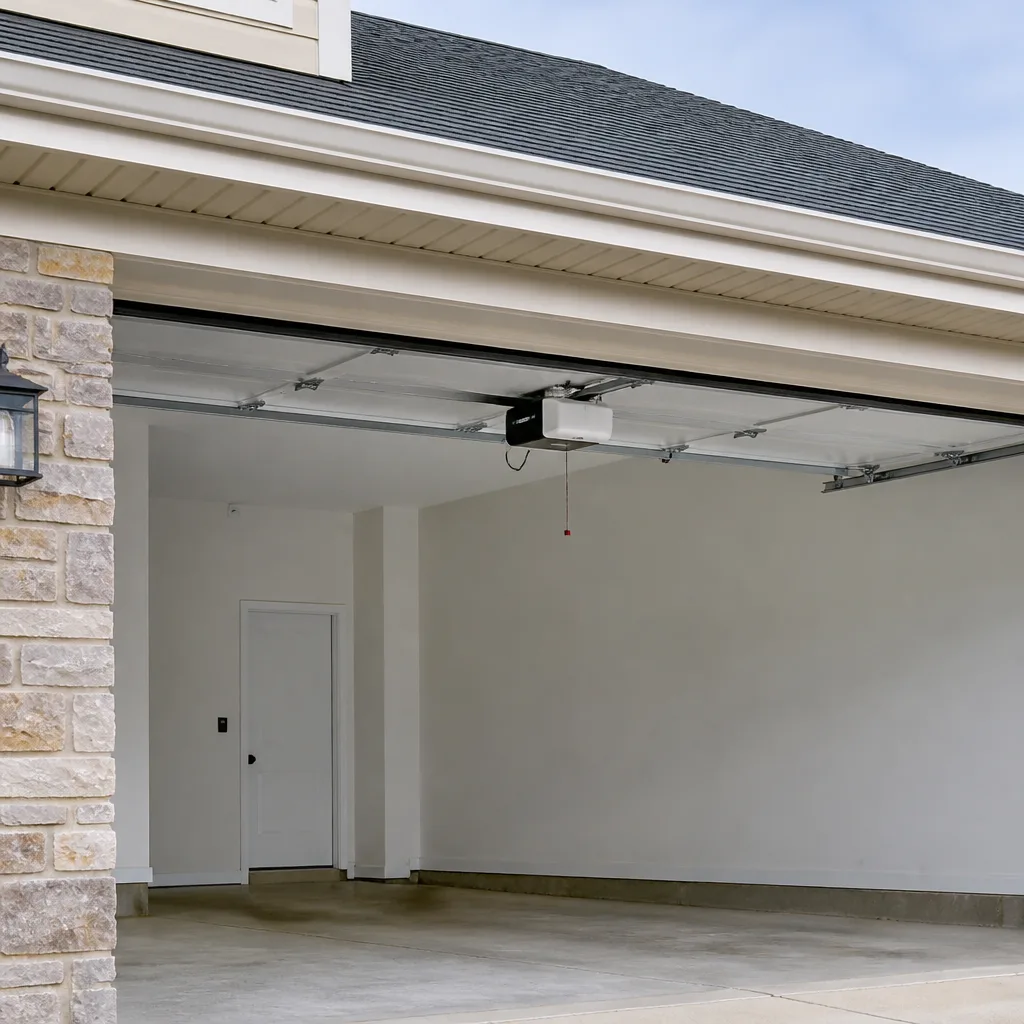 Chamberlain openers
Full 25-point door and opener safety check with every visit - springs, cables, rollers, tracks, and your LiftMaster or Chamberlain opener included
You get a price before we start. It does not change when the pro arrives.
Get your free estimateGarage Door Repair Maintenance Checklist for East Village Homeowners
The calls that wake people up in East Village usually aren’t about a part that wore out on schedule. They’re about a part that looked fine until the morning it didn’t. A cable that was quietly fraying behind the drum. A spring that had lost a little tension every cold snap for three winters. The door went up fine on Tuesday and wouldn’t budge on Thursday. Most maintenance checklists you’ll find online were written for a suburban house with a wide driveway and a garage that gets used twice a day. That’s not East Village. Here, doors cycle constantly, buildings sit tight against each other, and the weather swings hard enough to stress metal in ways a national checklist never accounts for. This guide covers what actually fails in East Village, when it fails, and which tasks genuinely add years to a door versus which are filler.
Quick Answer
A garage door in East Village needs a hands-on inspection twice a year, with a quick visual and balance check once a month, because the local freeze-thaw cycle and tight urban clearances wear cables, springs, and weatherstripping faster than the national averages most checklists assume. Focus your effort on springs, cables, rollers, tracks, and the opener’s safety reverse, and leave spring replacement and cable work to a trained technician. Everything else on this list a careful homeowner can check safely in about fifteen minutes.
Styles & brands we work with
- Raised-panel steel
- Carriage house
- Modern flush
- Full-view glass
- LiftMaster openers
- Chamberlain openers
Table of Contents
- Why Generic Checklists Miss the Mark in East Village
- The Monthly Five-Minute Walkaround
- Spring Tension: How to Test It Safely and What the Results Mean
- Cables and Drums: The Wear Patterns NYC Low-Headroom Doors Produce
- Weatherstripping on Wind-Tunnel Streets
- Opener and Safety Reverse Checks
- The Seasonal Calendar for East Village Doors
- Maintenance That Extends Life vs. Filler Advice
- Common Mistakes to Avoid
- When to Call a Professional
Why Generic Checklists Miss the Mark in East Village
Most maintenance advice you’ll read online is built around a national average: lubricate twice a year, tighten the bolts, listen for noise. That advice isn’t wrong, but it’s calibrated for a climate and a housing stock that doesn’t match East Village. Doors here live in narrow lots, tight alleys, and buildings where the garage opening sits a few feet from a sidewalk or a shared wall. The headroom is often lower than a suburban garage, which changes the geometry of how cables run and how much stress the drums carry. The streets funnel wind between buildings in ways that push rain and grit against the door face from directions a freestanding garage never sees.
Then there’s the weather. East Village gets a full freeze-thaw cycle every winter. Water works into small gaps, freezes, expands, and thaws, and repeat that a few dozen times and metal fatigue shows up early. Springs lose tension faster in that cycle. Cables pick up surface rust where moisture sits against them. Weatherstripping that stays damp along its bottom edge stiffens and cracks. A checklist built for a mild climate will tell you to inspect your springs annually. In East Village, twice a year is closer to the truth, and after a hard cold stretch it’s worth a look in between.
We’ve worked on doors across East Village long enough to know the failure order. Cables and weatherstripping tend to go first. Springs follow. Rollers and hinges need attention but rarely fail without warning. The opener is usually the last thing to complain, and when it does, it’s often reacting to a door that’s gotten heavier rather than a problem in the motor itself. That order shapes everything below. If you take on garage door repair only after something breaks, you’ll spend more time and money than the homeowner who checks the right things on a schedule.
The Monthly Five-Minute Walkaround
Once a month, before you pull the car in or out, spend five minutes looking at the door as a system rather than a slab. You don’t need tools for most of it. You need to know what normal looks like so you notice when something’s off. Do this walkaround in daylight so you can actually see wear on the cables and the bottom seal.
- Look at the door from the street. Stand back and check that the door sits level in the opening. A door that’s racked to one side is telling you a cable or spring is unbalanced.
- Run your eyes along both cables. They run from the bottom corners up to the drums above the door. You’re looking for fraying, kinks, or rust spots. A cable with a broken strand is a cable that’s about to fail.
- Check the bottom seal. Look for cracks, gaps, or sections that have pulled away from the door. Press it with your thumb; it should feel pliable, not brittle.
- Look at the rollers and hinges. Rollers should sit cleanly in the track without wobbling. Hinges should be tight against the panel.
- Listen. Open and close the door once and pay attention to noise. A door that’s gotten louder, or that clunks at a specific point in travel, is telling you something.
- Test the safety reverse. Put a roll of paper towels or a piece of wood flat on the ground under the door and close it. The door should reverse on contact. If it doesn’t, stop using the opener until it’s fixed.
That’s it. Five minutes, no tools, and you’ve caught most of what turns into an emergency call. The walkaround matters more in East Village than in most places because doors here get used hard. A door that opens and closes four or five times a day covers a lot of cycles in a month, and a small problem compounds faster.
Spring Tension: How to Test It Safely and What the Results Mean
Springs are the most dangerous component on any garage door, and the part most often mishandled. We treat spring repair as its own discipline for that reason. A wound torsion spring holds enough stored energy to cause serious injury if it releases unexpectedly, and extension springs under tension can do the same. So the safe test isn’t about touching the spring. It’s about reading the door’s behavior and letting that tell you what’s happening.
Here’s the test that requires no tools and no contact with the spring:
- Disconnect the opener. Most openers have a release cord you pull to disengage the door from the motor. Pull it so the door moves by hand.
- Lift the door to about waist height. Use the handle at the bottom, not the panels.
- Let go. A properly balanced door stays where you left it, or drifts only slightly.
- Watch what it does. If it drops on its own, the springs have lost tension. If it rises on its own, they’re over-wound or the door is out of balance in the other direction.
- Reconnect the opener. Push the door back down and re-engage the release.
What the results tell you: a door that won’t stay put is a door whose springs are tired. That doesn’t always mean replacement, but it means the door is working harder than it should, and the opener is carrying weight it was never meant to carry. In East Village’s climate, cold snaps tighten springs and warm spells relax them, so a door that behaved in October can feel noticeably different in February. If your door won’t hold position after a cold stretch, it’s worth having the springs looked at before something lets go.
What you should not do is try to adjust the springs yourself. Winding or unwinding a torsion spring requires specific tools and, more importantly, knowing what you’re doing. Extension springs should have a safety containment cable running through them, and if you’re not sure whether yours does, that’s a question for a technician. We work on springs from Clopay and Amarr doors as readily as the older models still common on East Village buildings, and the diagnosis is the same either way: measure the tension, check for fatigue, and tell you honestly whether a repair or a replacement is the right move.
Cables and Drums: The Wear Patterns NYC Low-Headroom Doors Produce
Cables are the quiet failure. They don’t announce themselves the way a broken spring does. A cable works fine until it frays, and then it snaps, usually with the door up, which drops one corner fast. In East Village, the low-headroom configuration in many garages changes how cables wear compared to a standard suburban setup.
When there’s less headroom above the door, the cable runs a tighter path over the drum, and it bends more sharply at the top of travel. That tighter bend concentrates stress on a short section of cable. Over thousands of cycles, that’s where the strands break first. On top of that, the freeze-thaw cycle leaves moisture on the cable, and moisture sitting against the drum promotes surface rust. Rust doesn’t just look bad. It pits the cable and gives a crack a place to start.
What to inspect on your cables:
- Fraying near the drum. Look at the last few inches of cable where it wraps around the drum above the door. That’s where low-headroom wear shows up first.
- Rust along the length. A little surface discoloration is normal. Flaking, pitting rust is not.
- Kinks or birdcaging. If the cable has a spot where the strands have separated or the cable has bent sharply, it’s weakened at that point.
- An uneven drum wrap. The cable should be wrapped neatly across the drum. A cable that’s jumped its groove or wrapped over itself is a problem.
- A door that hangs crooked. If one side sits lower than the other, the cable on that side may have stretched or come off the drum.
A frayed or damaged cable is not something to keep using. If you see one, stop operating the door and have it looked at. Cable replacement is a technician job because it involves releasing spring tension to free the cable, and that tension is what makes the job dangerous. Leave it alone and call.
Weatherstripping on Wind-Tunnel Streets
A garage door’s weatherstripping does two jobs. It keeps water and cold air out of the garage, and it cushions the door as it meets the ground and the frame. In East Village, both jobs are harder than they sound. The streets between buildings act like wind tunnels, funneling rain against the door face and pushing it sideways along the bottom seal. That’s the failure point most people miss.
The bottom seal is a rubber or vinyl flap that runs the full width of the door and compresses against the floor. Wind-driven rain pushes against it, works its way under the edge, and sits. In cold weather it freezes against the floor. In warm weather it stays damp. Repeat that through a winter and the seal stiffens, cracks, and pulls away in sections. Once it’s gone, the door lets water and cold air into the garage, and the gap under the door is exactly where a draft and a pest problem start.
What to check on your weatherstripping:
- The bottom seal. Run your hand along it and press it. It should feel soft and spring back. Cracks, flat spots, or sections that have torn away mean it needs replacing.
- The side seals. The strips on the frame where the door meets the wall. They should sit against the door without gaps. Wind-driven rain finds every gap.
- The top seal. Especially on doors that face an exposed street, the top seal takes direct rain. Look for sections that have pulled loose.
- Where the door meets the floor. Close the door and look for daylight under it. A thin line of light is normal on an uneven floor; a bright gap means the seal isn’t reaching.
Weatherstripping is one of the few items on this list a homeowner can replace without specialized tools, and it’s one of the highest-value maintenance tasks on an East Village door. A new bottom seal costs very little and cuts down on drafts, moisture, and the wear that moisture causes to everything else in the garage. If you’d rather not do it yourself, we can handle it as part of a broader garage door repair visit and check the rest of the system while we’re there.
Opener and Safety Reverse Checks
The opener is the part people notice when it stops working, but it’s usually the messenger, not the problem. An opener that strains, reverses for no reason, or struggles to lift the door is often reacting to a door that’s gotten heavier because the springs have weakened or a cable is dragging. So the opener checks on this list are about function, not about the motor’s health in isolation.
How to test the opener and its safety systems:
- Test the safety reverse with an obstruction. Place a piece of wood or a roll of paper towels flat under the door and close it. The door must reverse on contact. If it closes on the object, the sensitivity setting is off or the sensor is failing.
- Test the photo-eye sensors. These are the small units at the bottom of the tracks on either side. Wave your hand across the beam while the door is closing; it should reverse. Then check that both sensors have a clear line of sight and no cobwebs or dirt on the lenses.
- Listen to the motor. A grinding, rattling, or thumping sound that wasn’t there before is worth investigating. On a chain-drive LiftMaster or Chamberlain, a little noise is normal; a new, loud rattle is not.
- Check the manual release. Test the release cord with the door closed. It should disengage the door smoothly. Re-engage it after testing.
- Check the wall control and remotes. If a remote works intermittently, change the battery before assuming the opener needs repair.
- Look at the light. Many openers blink a diagnostic code when something’s wrong. Note the pattern; it tells a technician a lot.
If the safety reverse fails, stop using the opener until it’s fixed. That’s a genuine safety issue, not a nuisance. Photo-eye sensors are easy to knock out of alignment, and a sensor that’s out of alignment will prevent the door from closing at all, which is a common cause of a “broken” opener that’s actually fine. If your opener needs attention, our garage door opener repair covers the brands you’re most likely to have, from LiftMaster to Genie, so there’s no need to swap out a working system just because it needs a part.
The Seasonal Calendar for East Village Doors
A yearly calendar works better than a vague “check it regularly” reminder. Here’s how we’d schedule it for an East Village door that gets daily use.
Early fall (before the first freeze). This is the most important inspection of the year. Check cables for rust and fraying before the freeze-thaw cycle starts. Test spring balance. Inspect the bottom seal for cracks that will take on water and freeze. Lubricate hinges, rollers, and the spring with a garage-door lubricant, not WD-40, which is a solvent, not a lubricant. Check the opener’s safety reverse and photo-eyes. The goal is to catch weak points before cold weather stresses them.
Mid-winter (after a hard cold stretch). A quick visual and a balance test. Cold tightens springs and makes cables more brittle. If the door won’t hold position or feels heavier than it did in fall, have the springs checked.
Early spring (after the thaw). The thaw is when freeze-thaw damage shows up. Look for rust that started over winter, weatherstripping that cracked, and cables that took on moisture. This is also a good time to clean and lubricate the moving parts again.
Summer. A lighter inspection. Check the weatherstripping for sun damage, test the opener, and listen for new noises. Summer is a good time to deal with anything that needs a scheduled repair before the next heating season.
That’s four touchpoints a year, with the monthly five-minute walkaround in between. It’s more attention than a national checklist asks for, but East Village’s climate earns it. Doors here go through more thermal stress in a year than doors in a mild climate go through in three.
Maintenance That Extends Life vs. Filler Advice
Not everything on a maintenance checklist is worth your time. Some tasks genuinely add years to a door. Others are filler that manufacturers include because it sounds thorough. Here’s the honest split.
Tasks that genuinely extend life:
- Lubricating hinges, rollers, and springs. Real. Reduces friction, quiets the door, and slows wear on the parts that move against each other.
- Replacing weatherstripping. Real. Keeps moisture out of the garage, which protects the door’s hardware and the building around it.
- Testing and adjusting the safety reverse. Real and important. It’s a safety function, not a maintenance nicety.
- Checking spring balance. Real. Catches weakening springs before they fail, and a balanced door puts less strain on the opener.
- Keeping the tracks clean. Real. Grit in the tracks wears rollers and causes the door to bind. Wipe them down, don’t lubricate them.
Tasks that are mostly filler:
- Painting the door every year. Not necessary. Paint on a steel door lasts years; touching up scratches is enough.
- Replacing rollers on a fixed schedule. Rollers last until they wear out, and you can see and hear when they do. Replace them when they’re worn, not because a calendar says so.
- Tightening every bolt on the door every month. Check them at the seasonal inspections. Monthly tightening on a door that isn’t vibrating loose is busywork.
- Adjusting the opener’s force setting to compensate for a heavy door. This isn’t maintenance; it’s masking a problem. A door that needs more force has a spring or cable issue that should be fixed, not compensated for.
The distinction matters because spending time on filler tasks can make you feel like the door is maintained when the parts that actually fail haven’t been checked. We’d rather you spend five minutes on springs and cables than an hour on things that don’t move the needle. If a repair is genuinely the right call, we’ll tell you. If a replacement makes more financial sense, we’ll tell you that too. That honest read is part of what a garage door installation conversation should include, and it’s the same conversation whether the door is five years old or twenty.
Common Mistakes to Avoid
- Using WD-40 on the springs and tracks. WD-40 is a solvent, not a lubricant. It’ll clean a part and then leave it dry, which speeds up wear. Use a garage-door-specific lubricant on moving parts, and keep the tracks dry.
- Adjusting the opener’s force setting to lift a heavy door. If the door has gotten heavy, the springs or a cable are the problem. Cranking up the opener’s force just makes the motor work harder against a door that’s out of balance. Fix the cause, don’t compensate.
- Ignoring a frayed cable because the door still works. A cable with a broken strand is holding less load than it was designed for. It works until it doesn’t, and when it fails, it fails with the door up. Stop using the door and get it looked at.
- Letting the bottom seal go because “it’s just a rubber strip.” In East Village’s wind-tunnel streets, a failed bottom seal lets wind-driven rain into the garage, which rusts hardware and damages whatever’s stored inside. It’s a cheap fix that prevents expensive ones.
- Trying to adjust or replace springs without the right tools. This is the mistake that sends people to the emergency room. Torsion springs store enormous energy. Leave spring work to a trained technician, every time.
- Assuming a noisy door is normal. A door that’s gotten louder over a few months is telling you something is wearing. Noise is the earliest warning you get, and it’s free information.
- Skipping the fall inspection because the door worked all summer. The fall inspection is the one that matters most in East Village, because it’s the last chance to catch problems before the freeze-thaw cycle starts stressing everything.
When to Call a Professional
Some items on this list you can handle yourself: the monthly walkaround, replacing weatherstripping, changing a remote battery, wiping down the tracks. Call a professional for anything involving springs, cables, drums, or a door that’s come off its track. Call us if the door won’t hold position when you test the balance, if you see a frayed or rusted cable, if the safety reverse fails, if the door hangs crooked, or if the opener strains or reverses for no obvious reason. Those are the situations where continuing to use the door can turn a repair into a bigger repair. Garage Door Repair East Village offers free estimates in East Village – call (866) 951-2601. We answer 24/7, with fast dispatch from 7am to 7pm, Sunday through Friday. Every price is quoted and agreed before any work starts, so you know what you’re paying before we touch the door.
See the difference
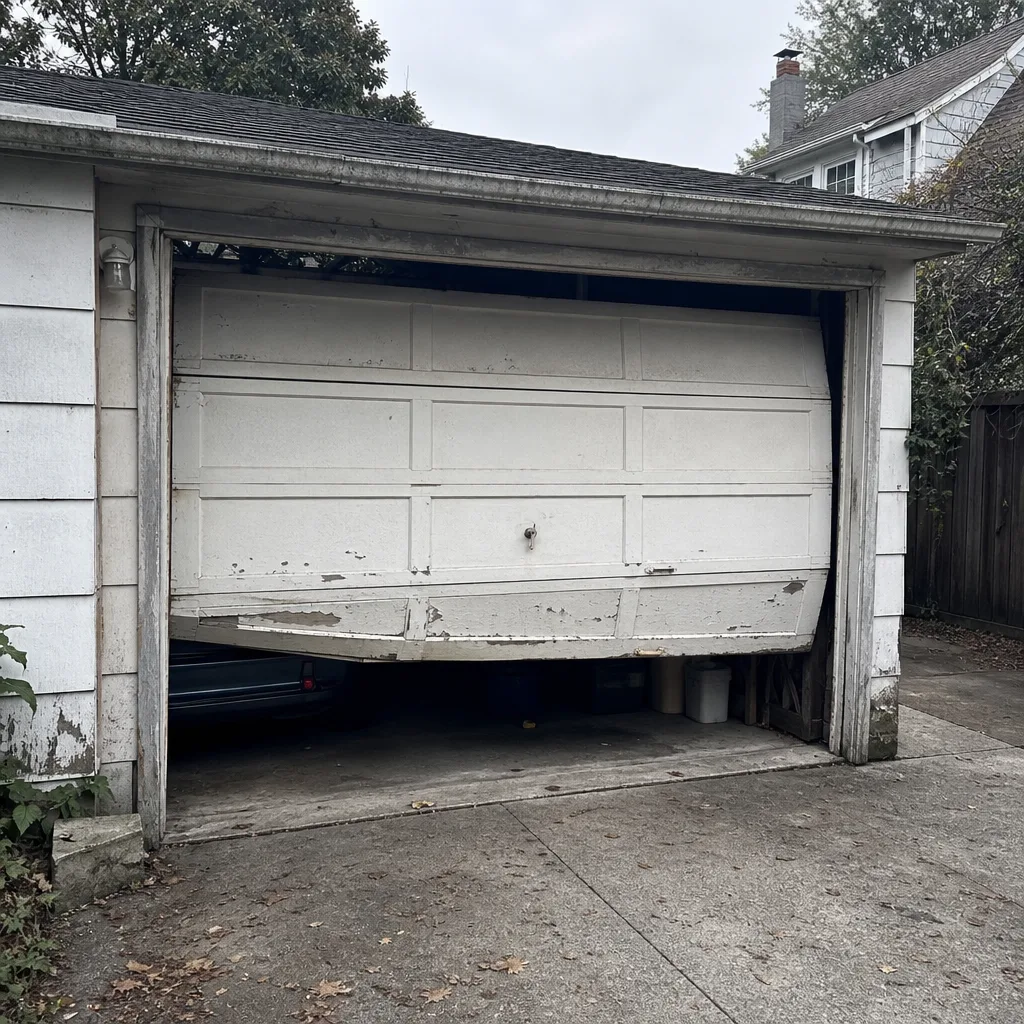 Before
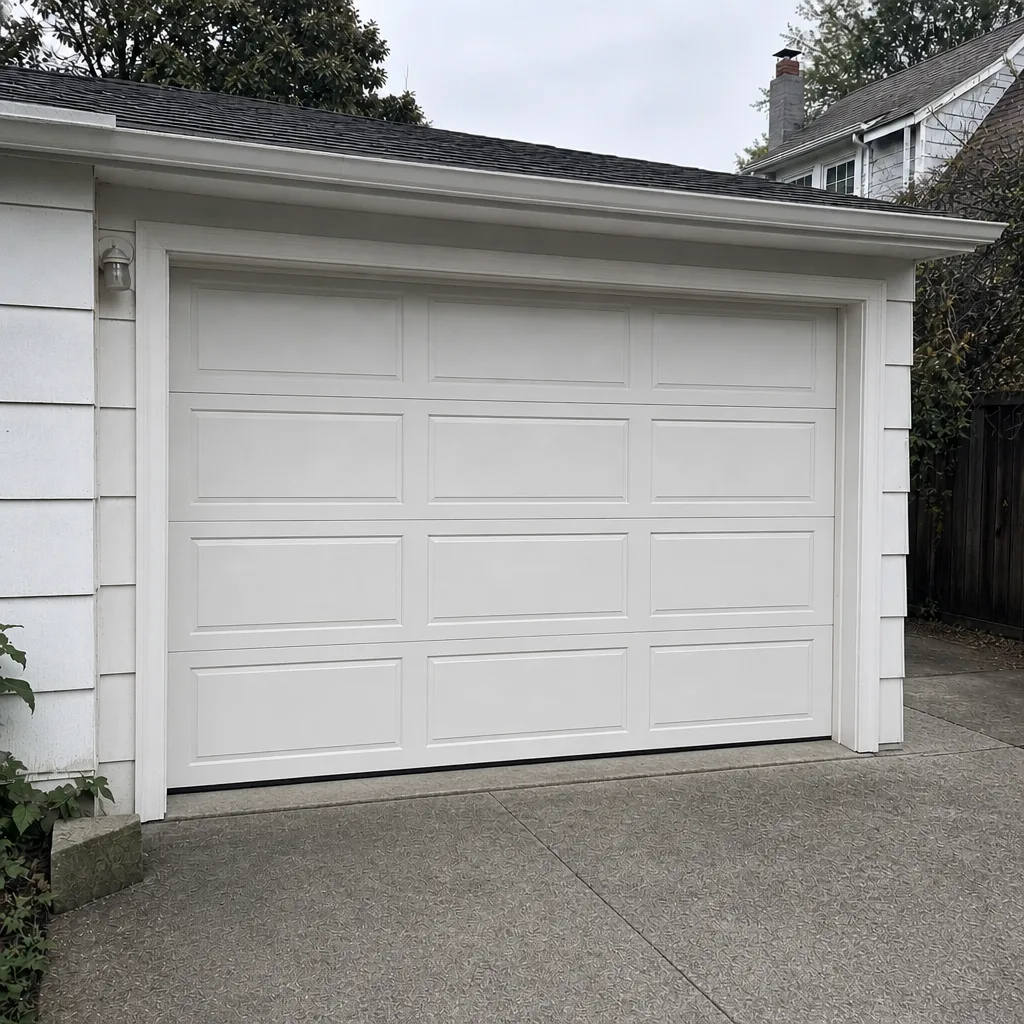 After
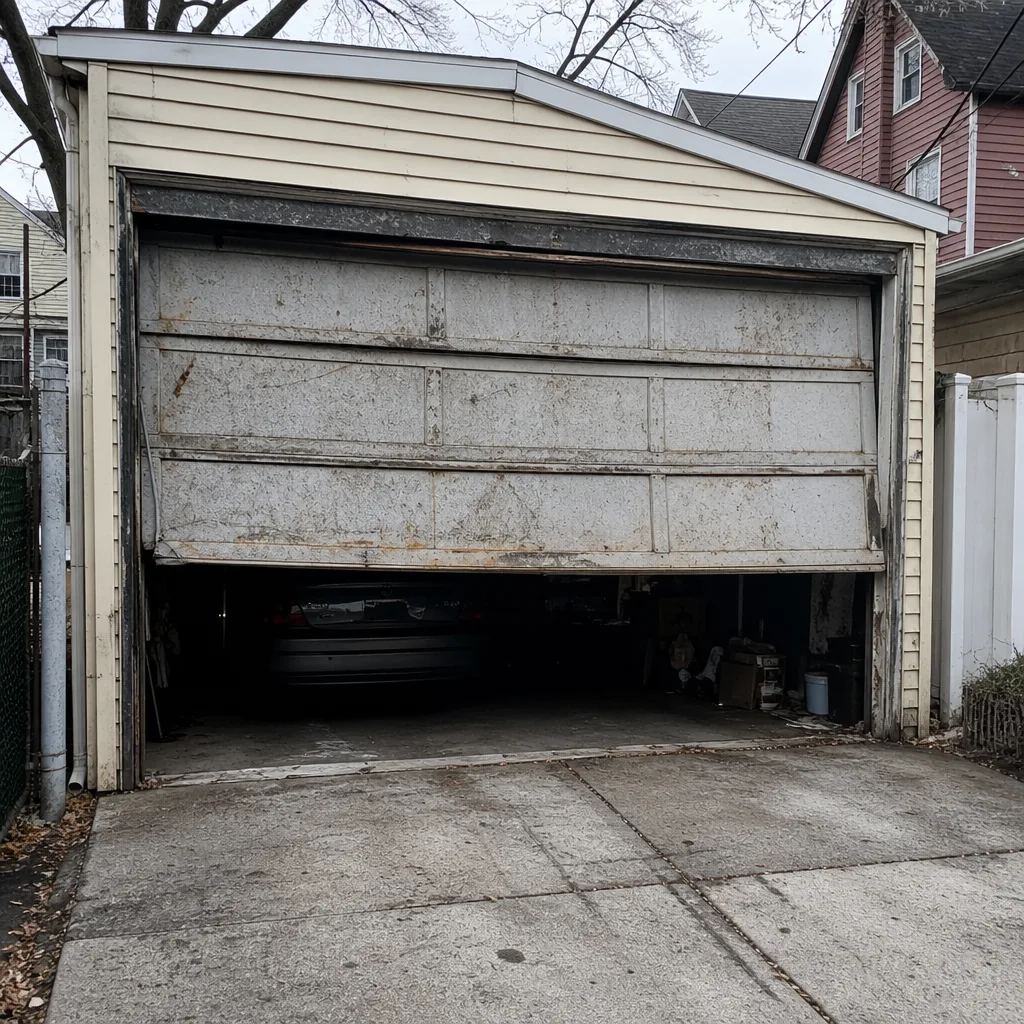 Before
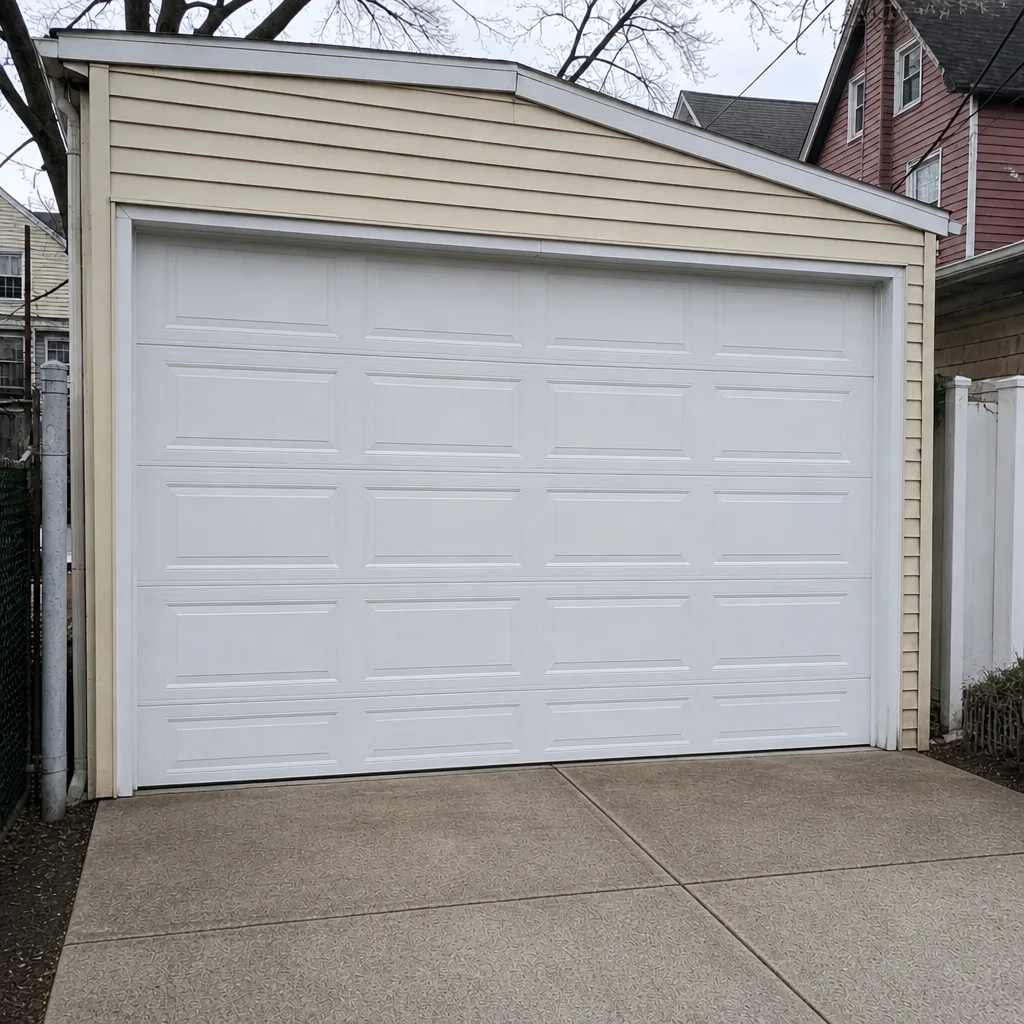 After
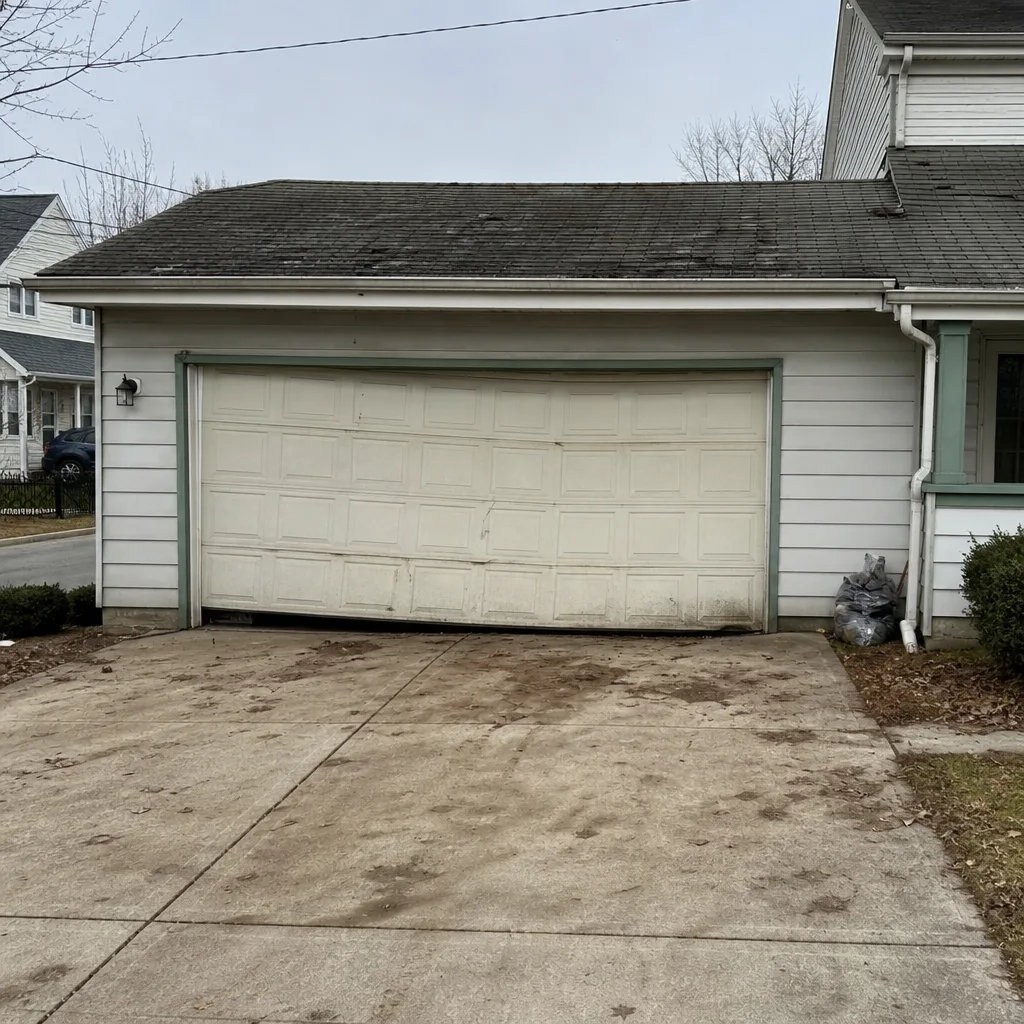 Before
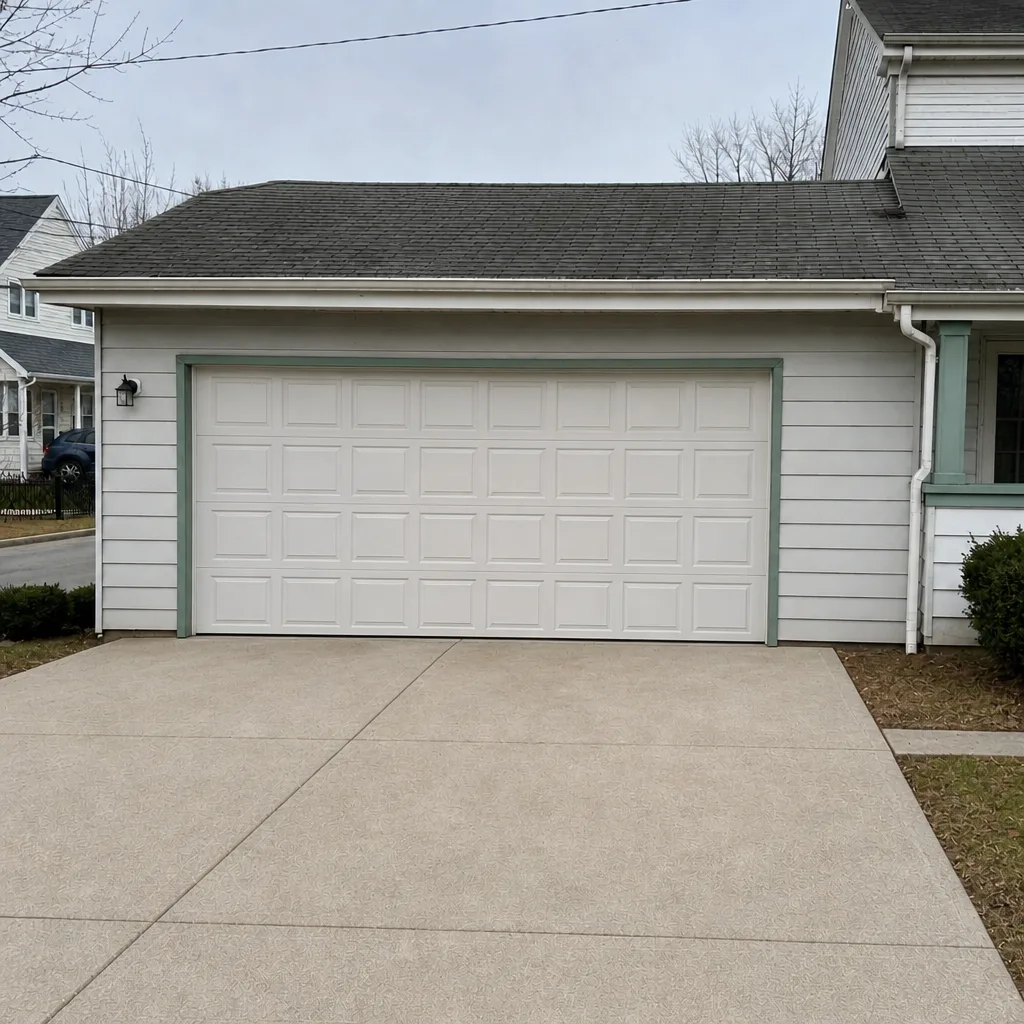 After
Frequently Asked Questions
Twice a year for a full inspection, with a five-minute visual and balance check once a month. East Village’s freeze-thaw cycle stresses springs, cables, and weatherstripping faster than milder climates do, so the fall and spring inspections matter more here than a single annual check would. Call (866) 951-2601 if you’d like a technician to do the inspection for you.
Yes, and you should. Disconnect the opener, lift the door to waist height, and let go. A balanced door stays put; a door that drops has weak springs. You’re reading the door’s behavior, not touching the spring, which keeps the test safe. If the door drops, don’t keep using it; call (866) 951-2601 for a spring check.
It depends on what’s wrong and what parts the job needs, which is why we quote each job individually and agree the price before work starts. Weatherstripping and small adjustments sit at the low end; spring and cable work costs more because of the labor and the parts involved. Call (866) 951-2601 for a free estimate on your door.
Cold tightens springs and thickens lubricant, so the door feels heavier. In East Village, the freeze-thaw cycle also works moisture into cables and seals, which adds drag. If the door is noticeably harder to lift after a cold stretch, test the balance and have the springs checked. Call (866) 951-2601 before the opener starts straining.
No. A door with a broken spring is being lifted by the opener and the remaining spring, which puts far more load on both than they were designed for. It can damage the opener or drop the door unexpectedly. Stop using it and call (866) 951-2601 for spring repair.
Age, overall condition, and the cost of the repair relative to a new door all factor in. A door with good panels and a failing spring is usually a repair; a door with rust through the panels, bent tracks, and tired hardware may not be worth fixing. We’ll give you an honest read on both options. Call (866) 951-2601 for a free estimate.
The Bottom Line
A maintenance checklist only helps if it’s checking the right things on the right schedule. In East Village, that means twice-a-year inspections timed to the freeze-thaw cycle, a monthly five-minute walkaround, and hands-on attention to springs, cables, and weatherstripping. Leave the spring and cable work to a technician, replace your bottom seal before winter, test the safety reverse every month, and don’t mask a heavy door by cranking up the opener. Do that and you’ll spend far less time on emergency calls. If you’re not sure your door is in good shape heading into a cold stretch, get it looked at. A free estimate today is cheaper than a broken spring tomorrow. Call (866) 951-2601. We answer 24/7. Fast dispatch from 7am to 7pm, Sunday through Friday.
Written by the team at Garage Door Repair East Village.